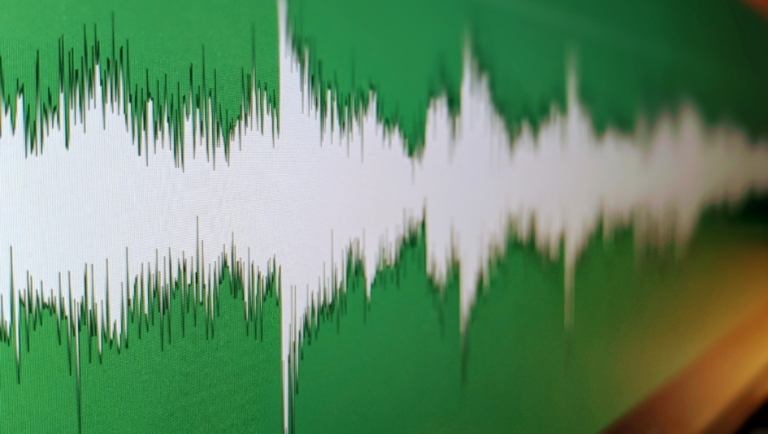
As a photographer, I’m starting to use video more often, whether to work on a client’s project or promote my work using video. Most, if not all, mirrorless cameras on the market today can also produce high-quality 4K video. However, there is one factor that needs to be taken into account when making a video: sound. Sound is often overlooked, yet it is one of the most essential factors in any video or film.
Why Sound Matters
Whether you’re just starting on your content creation journey, are a specialized wedding photographer producing short videos for your clients, or just a traveling photographer using video to promote your work, you’ll discover that sound forms one of the most critical factors of any video you make—not just any sound, but good sound. Technically speaking, you can have a terrible-looking video, but if you have decent sound, there’s still a chance you can get away with it. However, if you have the kind of video that would make Roger Deakins foam at the mouth, but the audio sounds like it’s been recorded inside a tin can, it will be challenging to keep the viewers happy.
In this article, we’ll explore what sound design is, why it’s vital, and some common mistakes to avoid before diving into effective ways of adding sound to your video. So grab a cup of coffee and get comfortable.
In traditional filmmaking, sound is recorded entirely separately from the film, using an external recorder such as a Zoom F6 connected to a microphone fitted on a boom pole. Often, only dialogue is recorded on location, and the sound effects you hear on-screen are recorded independently in a sound production studio. These recorded sounds are called foley sounds. Anything from footsteps to the rustle of leaves and a door creaking, as well as any additional dialogue, is recorded on massive production stages and mixed into the final edit.
Unfortunately (or fortunately?), Smell-O-Vision is not yet an effective way of conveying smells to the audience. Therefore, we can only use two of our senses to describe a story correctly: sight and sound. We must understand how to use these two senses to immerse and fully captivate our audience. We must focus on getting the visuals and sound correct, as we have to work harder to captivate the audience using only two senses.
Using Badly Recorded Audio
Recording your audio using a low-quality microphone or sourcing free, low-quality sounds from an online library will make your film’s overall production value feel cheap. It won’t entice viewers to stick around. To combat this, use a reputable online sound library, such as Artlist.io, where you can download unlimited songs and sound effects to add to the mix. Alternatively, suppose you have invested in a good-quality microphone or external recording equipment. In that case, I recommend using that to capture sounds in situ. This will make the film feel more authentic, and the sound quality will be exceptional. Whether you use an online library, professional microphone, or external recorder, you can rest assured that your audio has been captured to the highest standard possible.
Not Using Enough Layers
Think of sound design as layers of an onion. It takes a whole lot of layers to create an immersive environment. The next time you’re outside, stand still and note how many different audio sources you can hear. Maybe you’re standing in a forest. You’ll hear the rustle of leaves, birds chirping, perhaps a deer call, and the wind through the trees. Those are 4 to 6 layers, possibly even more if you want to add some variation to your scene. Starting small and building up your scene will cause the viewer to be fully immersed once the sound is mixed in. Of course, the number of layers you use is entirely context-dependent. It is up to you to gauge what’s needed in your film. Sometimes, less is more.
Improper Audio Mixing
Your sound quality can also suffer when the audio isn’t mixed well enough. Combining the audio sources with care is essential if you’ve got several audio layers. Start with the volume as low as possible on each layer and raise it incrementally if you feel it needs to be slightly higher. Also, use the panning function to position the sound more to the left or right of the screen. Let’s say you’re looking at a waterfall in the distance, but its sound is a roar; it wouldn’t sell it to the viewer. In reality, the sound of the waterfall would be softer the further away it is from the viewer. However, if you’re filming a close-up of the waterfall, then by all means, raise the volume.
In the video above, we use Blackmagic’s Da Vinci Resolve 19 to import our sound and music files from Artlist. Keeping the mistakes to avoid in mind, we find the right sounds and mix them in to immerse the audience in the film entirely.
By experimenting with different sounds and mixing techniques, we’ll be able to master sound design in no time. While looking for the right music and sound effects to match our film can be time-consuming, it’s often quite a fun and almost therapeutic process. The result adds a new quality to our film that’s frequently overlooked.
