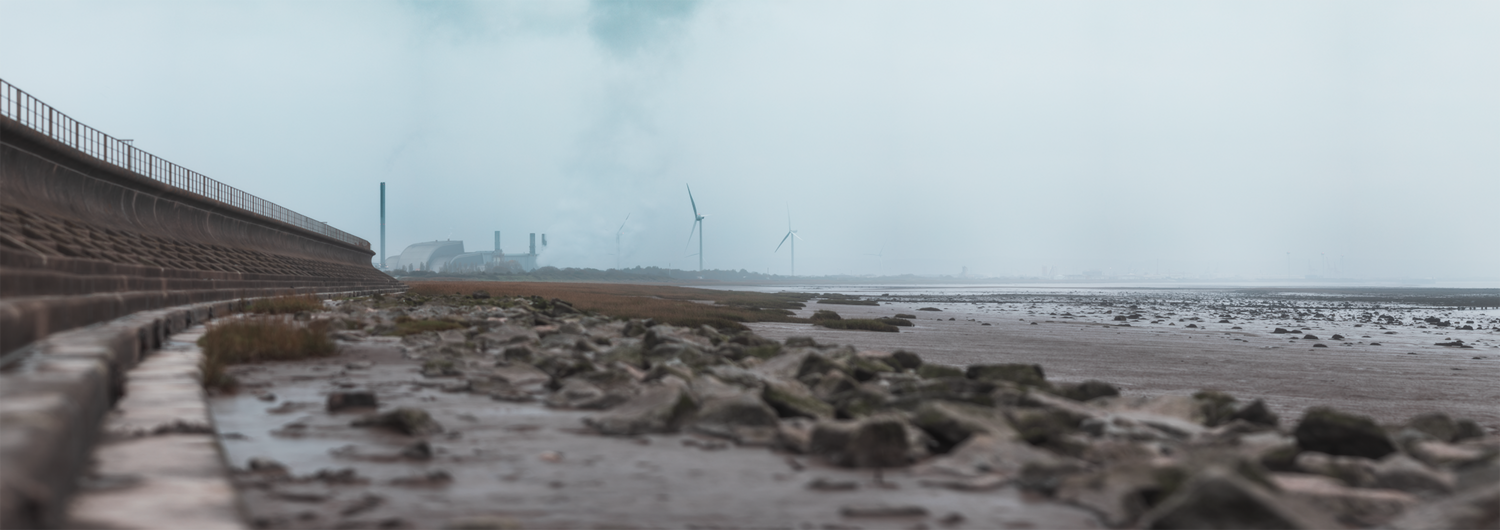
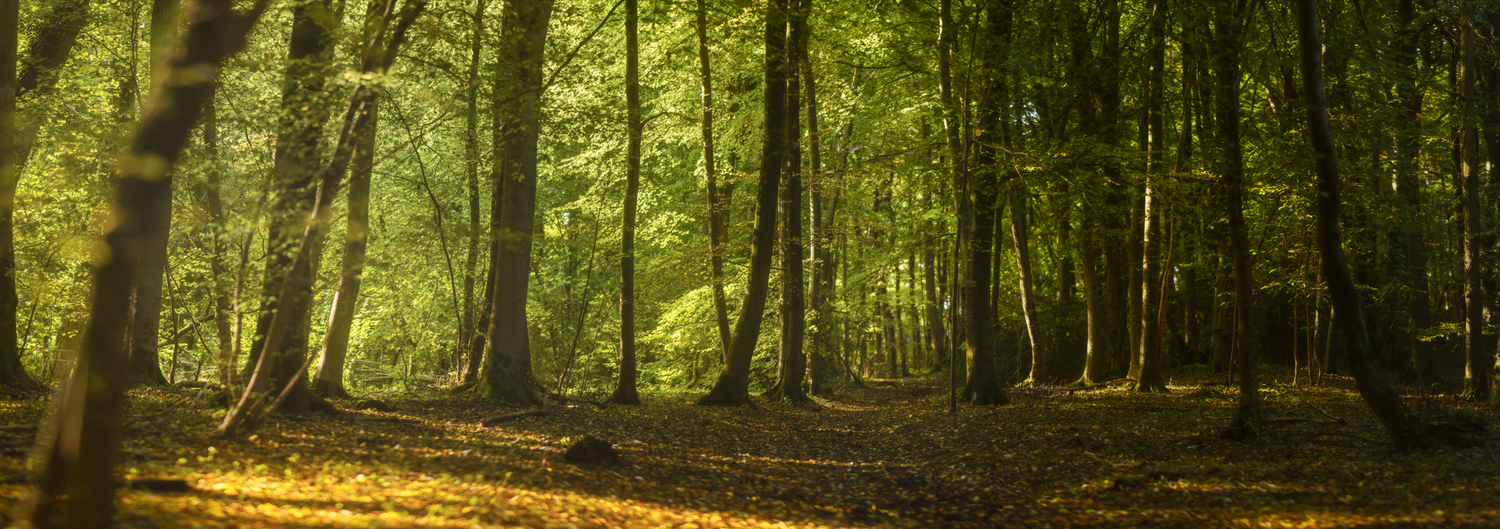
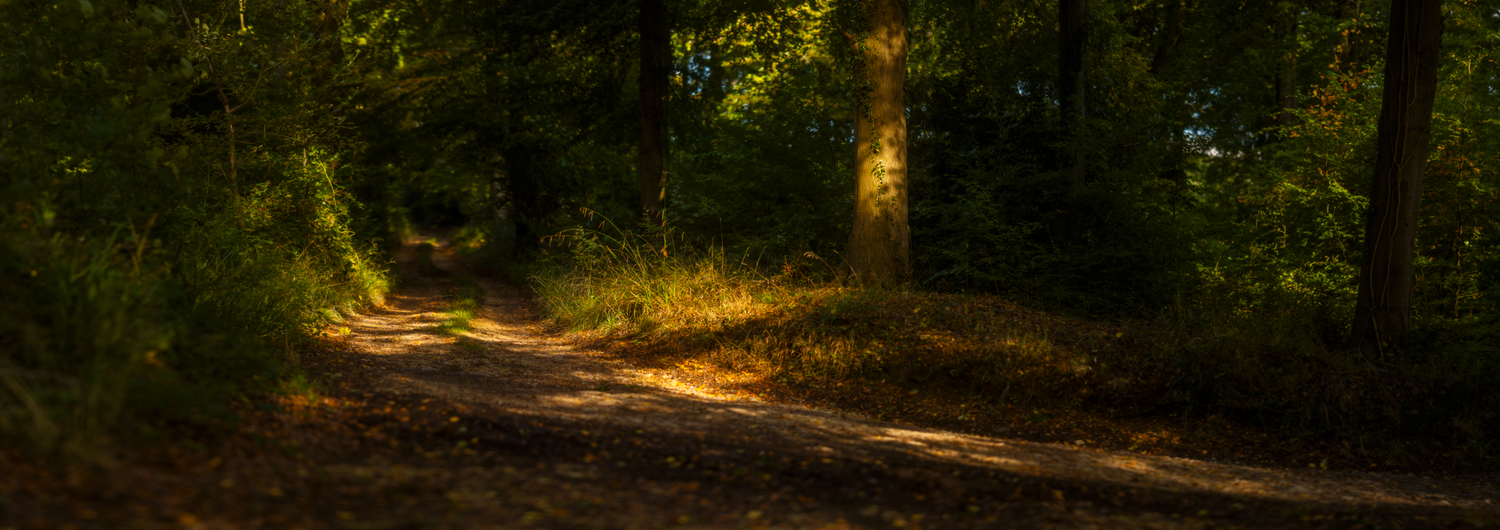
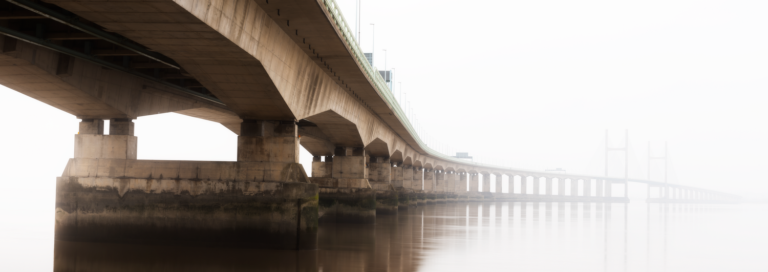
When I first discovered photography, I was immediately drawn to landscape photography. From day one, I started trawling through photography-related sites and looking at how other photographers captured the world. However, I discovered panoramic landscapes when my photography college lecturer brought a Fujifilm GX617 to class one day. When I saw what it could produce, I was hooked. While unable to afford the GX617, I wanted to replicate the look and feel of the pictures it created with my own camera. So, I researched whatever was available on the internet then and started experimenting with my camera.
Nowadays, it’s easy to replicate the aspect ratio of a GX617 on any camera using a sturdy tripod, possibly an L-bracket, and a good composition. Unlike the GX617, I could use my camera on a tripod and take a series of images to stitch them together in Photoshop. The option is there for you to invest in expensive gear to get a perfectly level and distortion-free tripod. Still, you can also use the tools you have at your disposal to create an excellent panoramic image.
Why Shoot Panoramic Images?

Traditionally, horizontal landscapes using a wide angle lens are used to get that broad perspective, but stitching together a series of images will not only expand the field of view but also increase the resolution of your final image. This is good news if you enjoy printing your photos, meaning you could get huge-sized prints for prospective clients or fill up that empty wall space you’ve been staring at for ages. It’s also unnecessary to shoot all your panoramas using a wide angle lens. If you have a telephoto lens, like the Canon 135mm f/2, you could still use that to shoot panoramas and gain a wider field of view by stitching the images together. An added benefit of using telephoto lenses is that they eliminate any distortion you may get from using wide angle lenses. Telephoto lenses also introduce a lot more compression in your image, meaning anything far away in the distance suddenly becomes closer. So, if you have a beautiful forest in the foreground but you’re struggling to capture the majestic mountains in the background, swap your wide angle lens for your telephoto lens before taking a series of images to be stitched together.
How To Shoot Panoramic

To successfully capture a panorama, you must mount your camera vertically to your tripod. If you mount it horizontally, you’ll capture a skinny image strip, losing any foreground and sky detail. Mounting the camera vertically captures the image using the longer side of your sensor, thus capturing more detail at the top and bottom of your frame.
It’s best practice to use an L-bracket in this scenario to position the camera’s sensor in the middle of the tripod. This means that your camera’s pivot point is aligned with the tripod’s center, which will help eliminate any stitching issues. It also helps with leveling your camera when rotating in between shots. Suppose you use something like a three-way head to turn your camera horizontally. In that case, the camera is off the center axis of the tripod, which could impact the level of your final image. If you have some money, a nodal head for your tripod is ideal, as this is the go-to tool for any panoramic photographer. A ball head that allows you to pan around the center point and L-bracket will suffice if you don’t have the $400+ to spend on a specialized panoramic tripod head. Next, use the spirit level built into the tripod’s base and the head to ensure your tripod and head are perfectly level. Pan the head around to check it is level all the way around. If not, some adjusting is required.

Be sure to set your camera’s settings to manual mode. Using aperture or shutter priority could produce inconsistencies in exposure, causing your stitched panorama to have under- or overexposed frames. Pan your camera around to the brightest part of the image and expose for that to ensure you don’t blow out any highlights before resetting your camera’s position. Alternatively, you could complicate things more and bracket your images to create an HDR panorama if you’re shooting a high-contrast scene like a sunset. Switching your lens to manual focus would also ensure the focal plane doesn’t jump between frames.
Once you’ve set the exposure and focus, it’s time to start shooting. It’s vital to overlap your images by around 25% when shooting to ensure Photoshop or your panoramic stitching software of choice sees similarities between frames and creates the perfect stitch.
Stitching Your Images In Photoshop

Now that it’s time to process the images, I usually load them in Adobe Camera Raw, select all the photos, and make some basic global adjustments. If you’re using Lightroom, you should be able to follow along, as most of the settings are the same. Once I’ve made my global adjustments, with all my images selected, I right-click on the first image and choose “Merge to Panorama.” Select “Merge to HDR Panorama” if you bracket your exposures. A dialog box will pop up, showing a preview of your panorama, and you’ll see several options on the right side of the dialog box. “Spherical,” “cylindrical,” and “perspective” are different projection modes. These are various ways of projecting the panorama.
The spherical mode would be as if the image was projected on the inside of a sphere, the cylindrical mode would be projected on the inside of a cylinder, and the perspective would be projected onto a flat plane, which is helpful for architectural images where you need straight lines. However, the latter is only suitable for landscapes, as it distorts the image and attempts to keep it flat. The spherical setting works best for landscapes in most cases. Once you’re happy with the preview, click “Merge” to start processing your panorama using Photoshop or Lightroom stitching. Once the stitching process is complete, Photoshop will produce a DNG file for you to use to perform your local adjustments. I load this file into Adobe Camera Raw and review my basic settings again before creating masks to adjust smaller areas in my image, often called local adjustments.
![]()
At the beginning of this article, I spoke about my love for the Fujifilm GX617. As a result, I love cropping my panoramic images down to a 6×17 crop ratio to mimic the camera style. I often overshoot my panoramas just to be safe and then always crop them down to a 6×17 format for aesthetic reasons.
In the end, it’s really that simple. There is no fancy gear or tricks, proving that you don’t need to invest in the most expensive gear to get the shot. It’s shooting a series of images on a level tripod and just enjoying photography for what it is. Have you tried shooting panoramas yet? If so, please share your images in the comments below. I’d love to hear your thoughts on your process.
