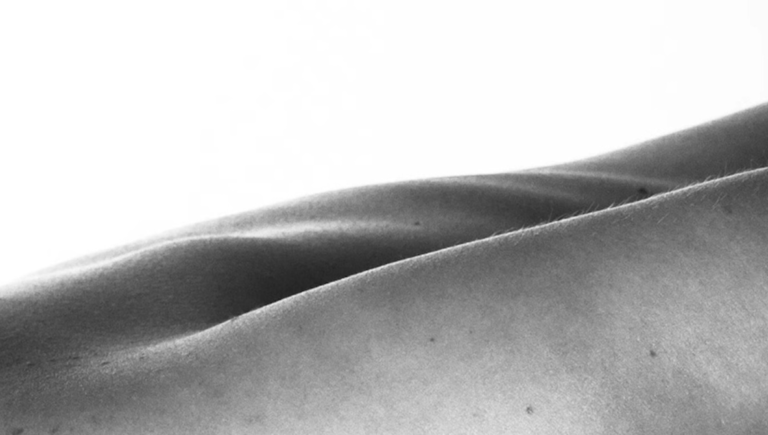
Bodyscape photography emphasizes the artistic form of the human body, typically focusing on abstract compositions. While this style is often associated with low-key, shadowy images, high-key bodyscapes offer a fresh take, relying on bright lighting and minimal shadows to create ethereal, luminous results. This approach is perfect if you want your work to feel clean and elegant.
Coming to you from Ed Verosky, this informative video outlines the essentials of high-key bodyscape photography. The process begins with selecting your gear, which doesn’t have to be overly complex. Verosky recommends a standard camera and a 50mm or 85mm lens for balanced framing and working distance. A pair of speedlights works well for background lighting, while a key light modified with a softbox or shoot-through umbrella ensures soft, even illumination on the subject. Flags or reflectors are optional but helpful for controlling light spill and contrast.
The setup is straightforward. Position two lights behind the subject, angled to evenly light the background without creating hotspots. Use a light-colored backdrop or wall for best results. The subject stands several feet in front of the background to prevent harsh shadows. Place the key light in front of the subject, slightly above and to one side, for soft and natural illumination. Recommended settings include a shutter speed of 1/125 second, an aperture of f/8 or f/9 for texture and detail, and an ISO of 100 for noise-free images. Adjust your light power as needed for even exposure.
Verosky emphasizes the importance of creating a comfortable environment for the model. Tight clothing that leaves marks should be avoided before the shoot, and having water, snacks, and a robe on hand is a good idea. Privacy is essential for both the model and the photographer to maintain focus. During the shoot, monitor for light spill or unintended highlights. Test shots help identify and correct issues such as lens flare or overexposure.
In post-processing, the goal is to refine and enhance the high-key aesthetic. Start with creative cropping to emphasize abstract compositions. Adjust exposure and contrast to ensure the subject and background are well balanced. Verosky suggests experimenting with tint or sepia tones for subtle effects or sticking with black and white for timeless appeal. Using texture and clarity sliders, you can add softness or retain detail depending on the look you’re going for. For a variation, eliminate the key light and rely solely on background lighting, creating a wraparound effect that enhances the abstract feel. Check out the video above for the full rundown from Verosky.
