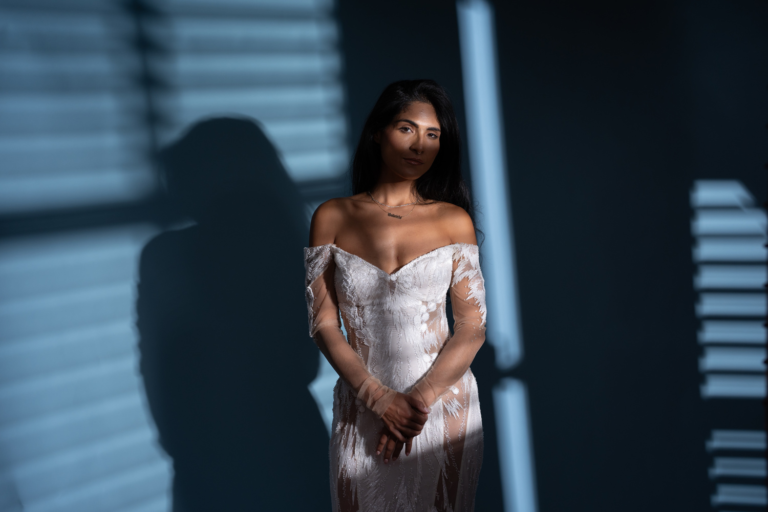
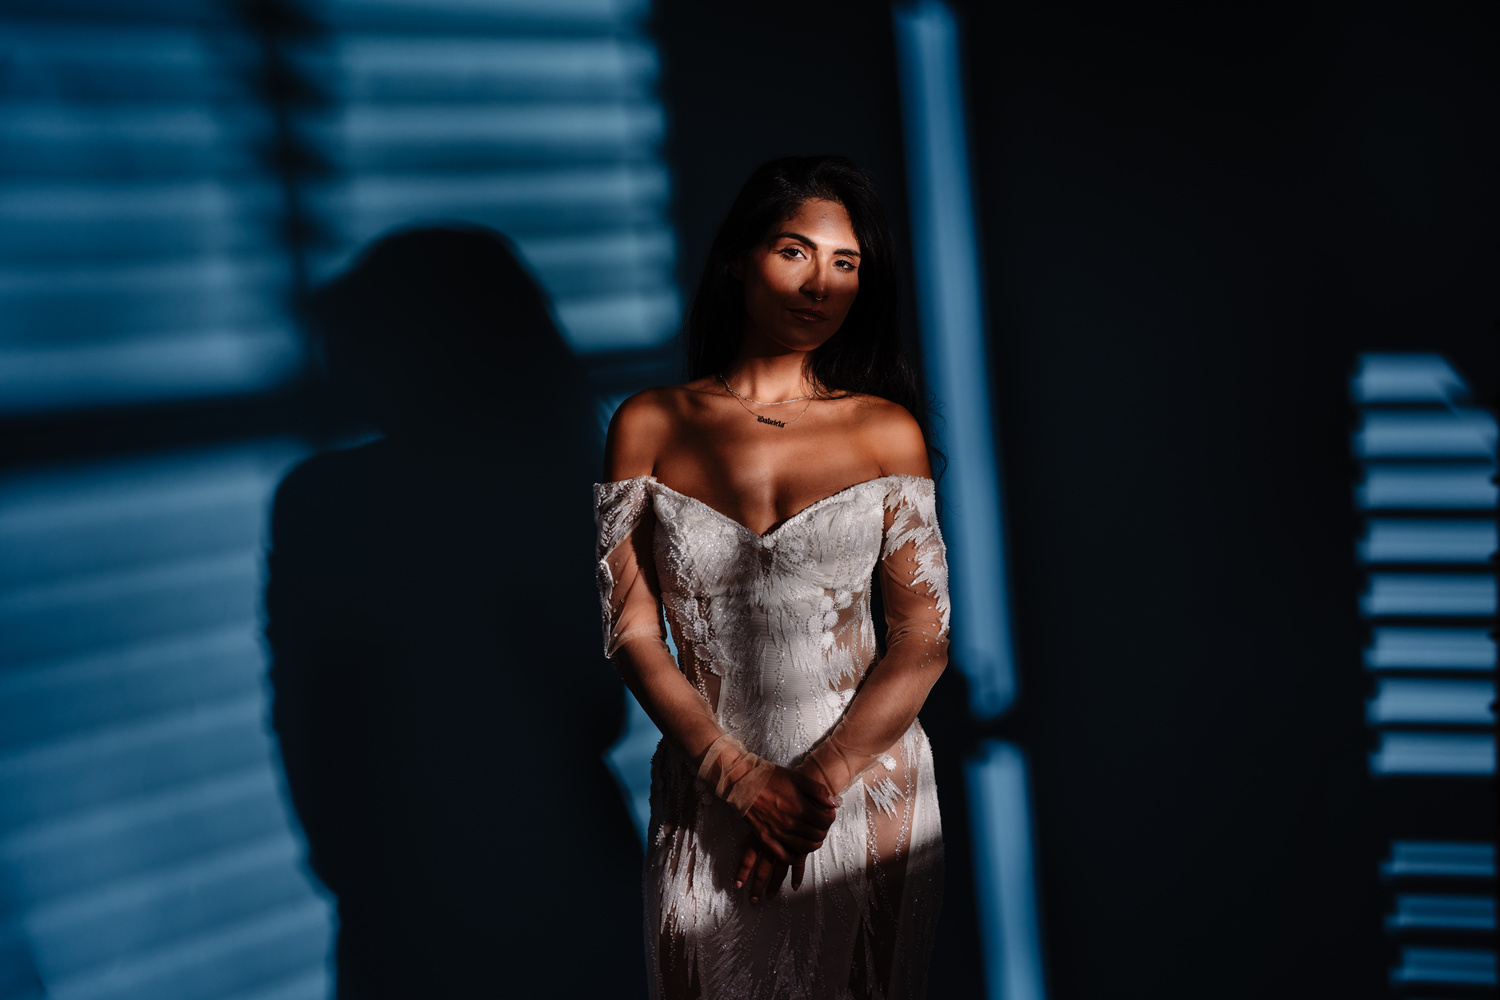
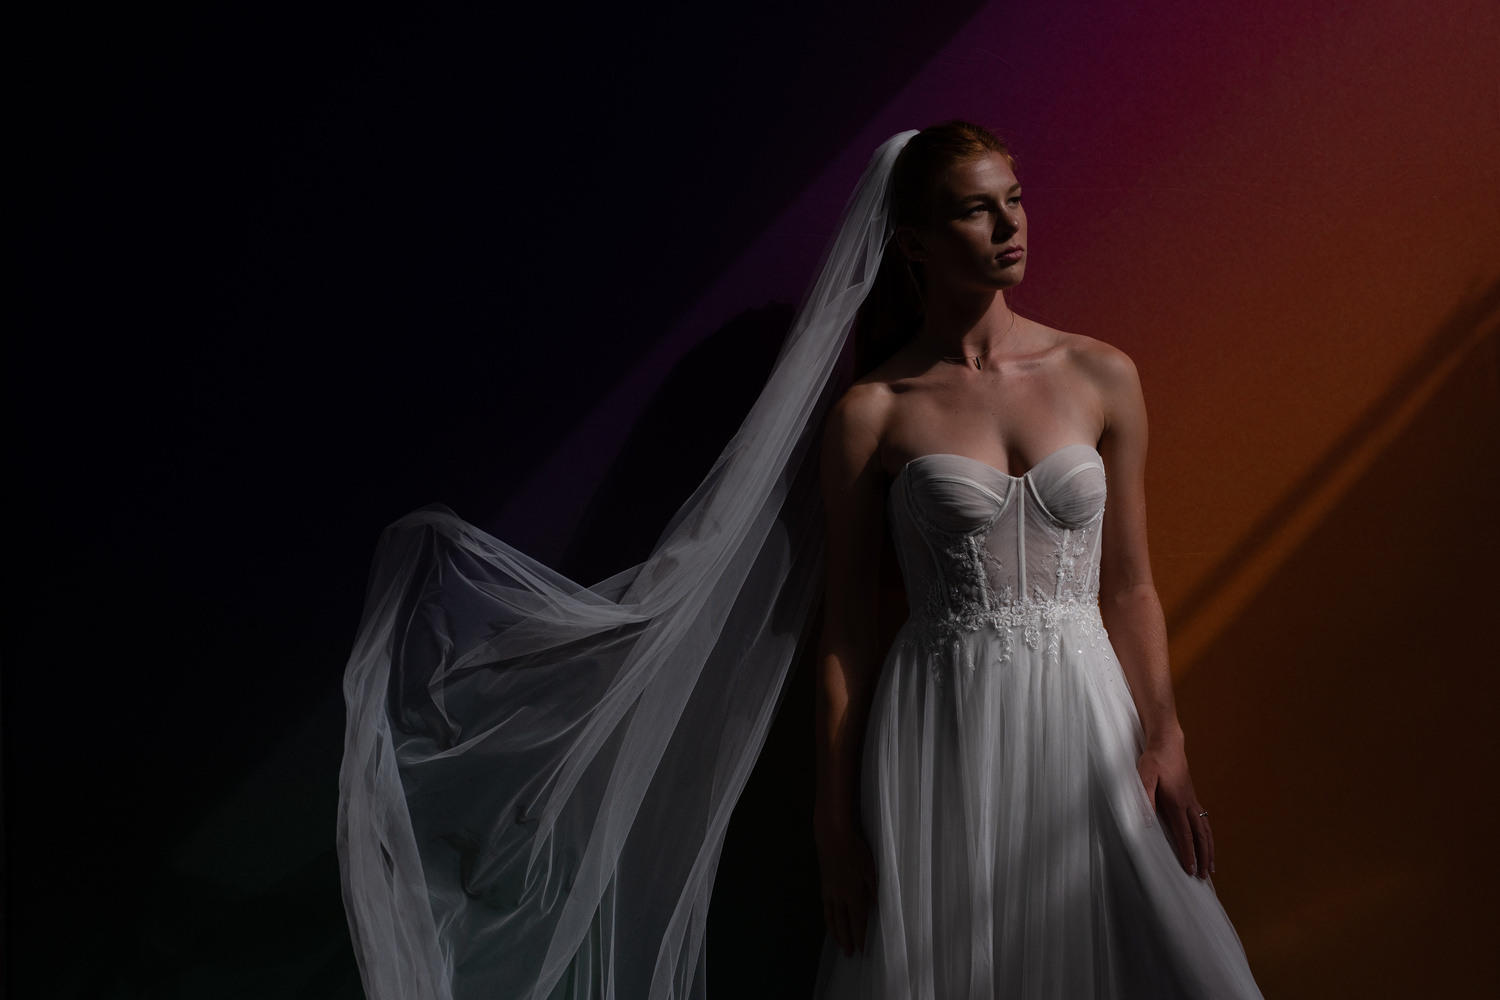
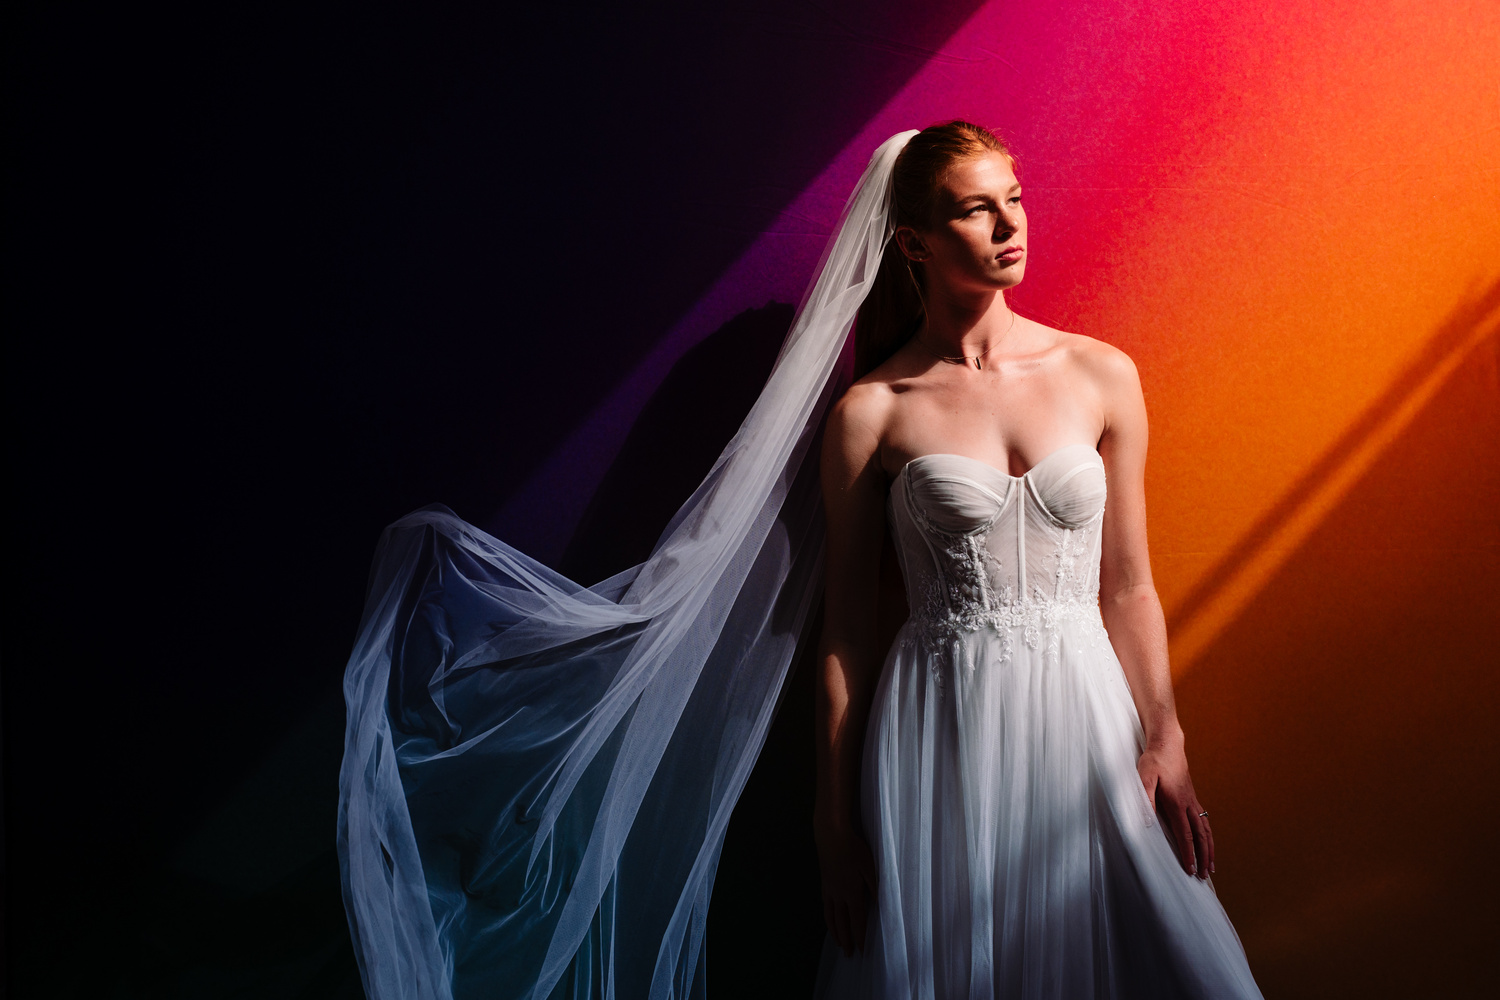
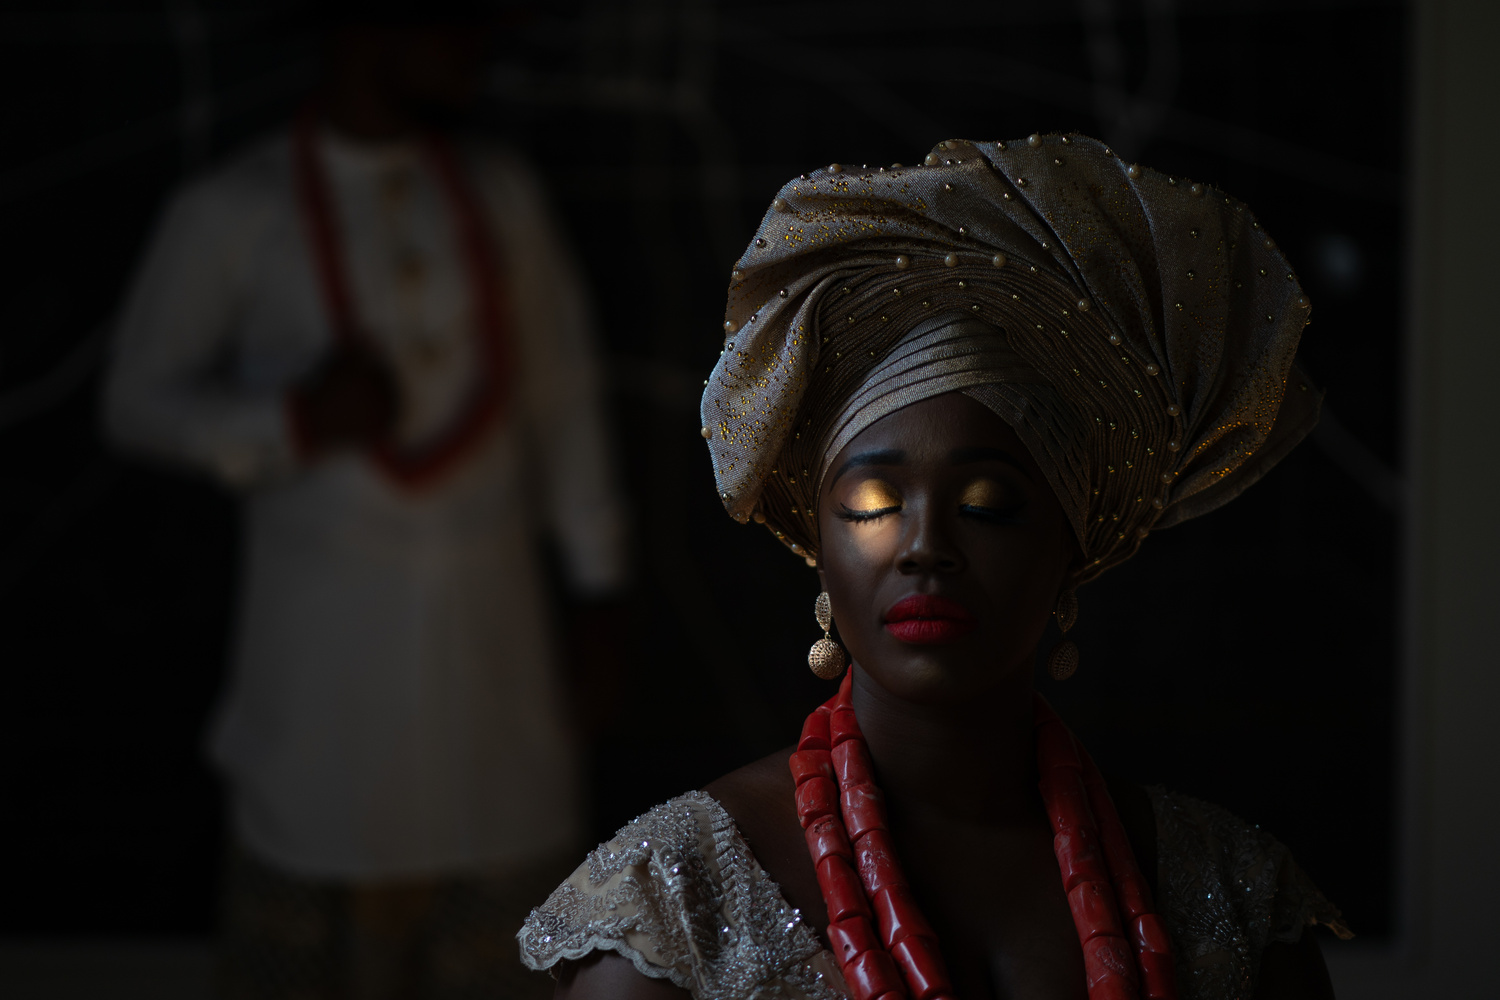
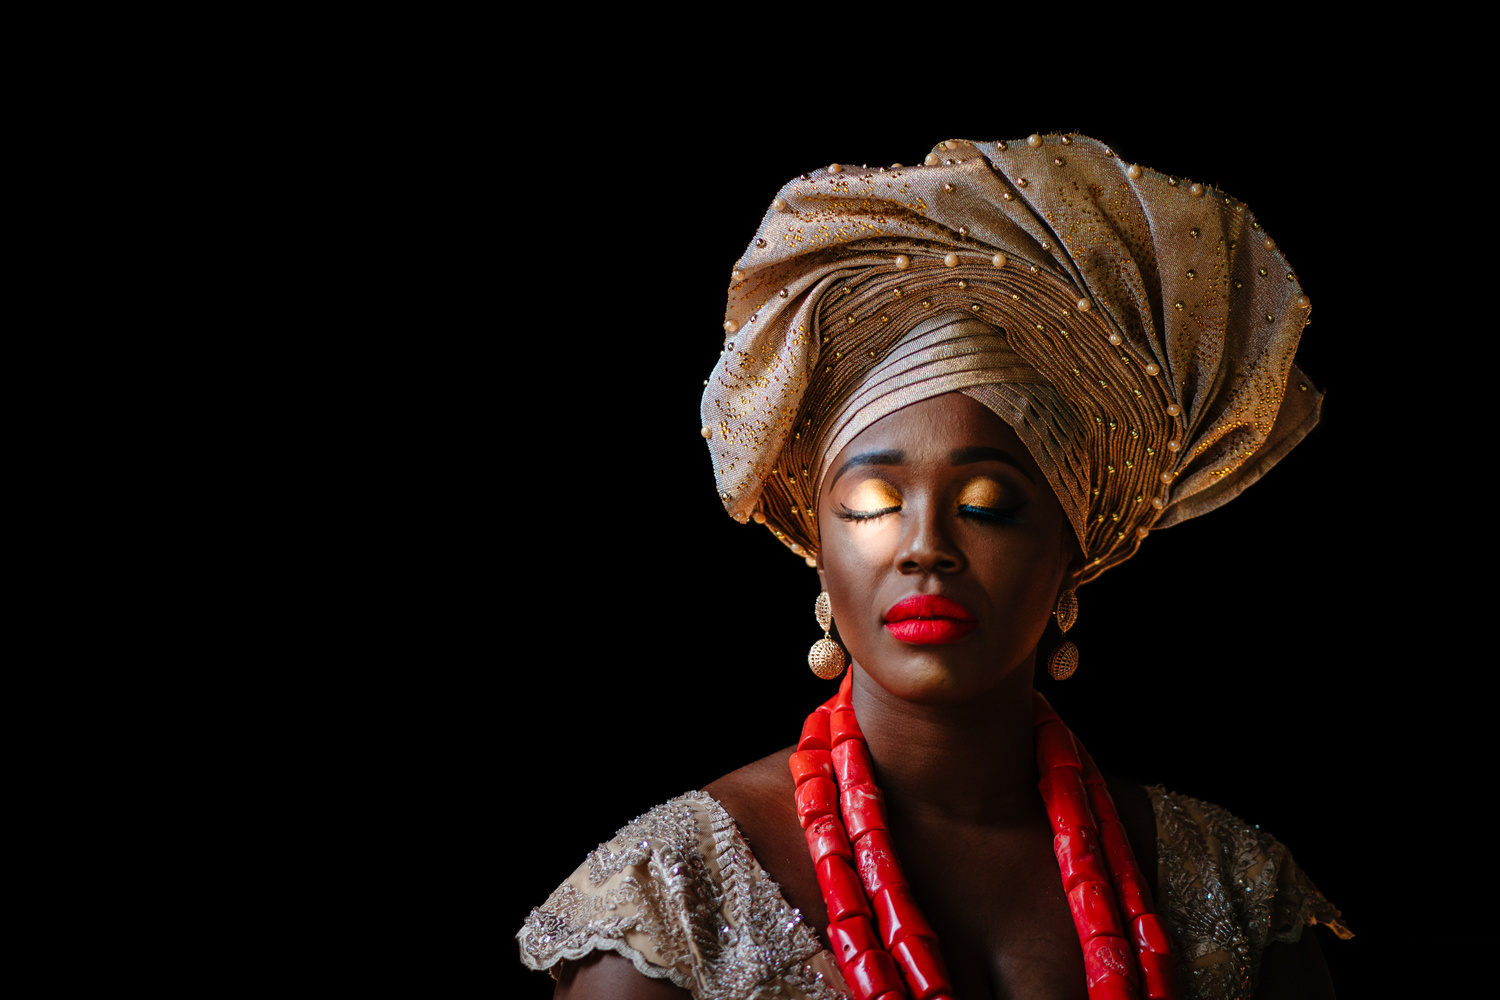
When it comes to digital photography, I think editing is as important as the darkroom was for film photography. But now, we have a lot more tools at our disposal.
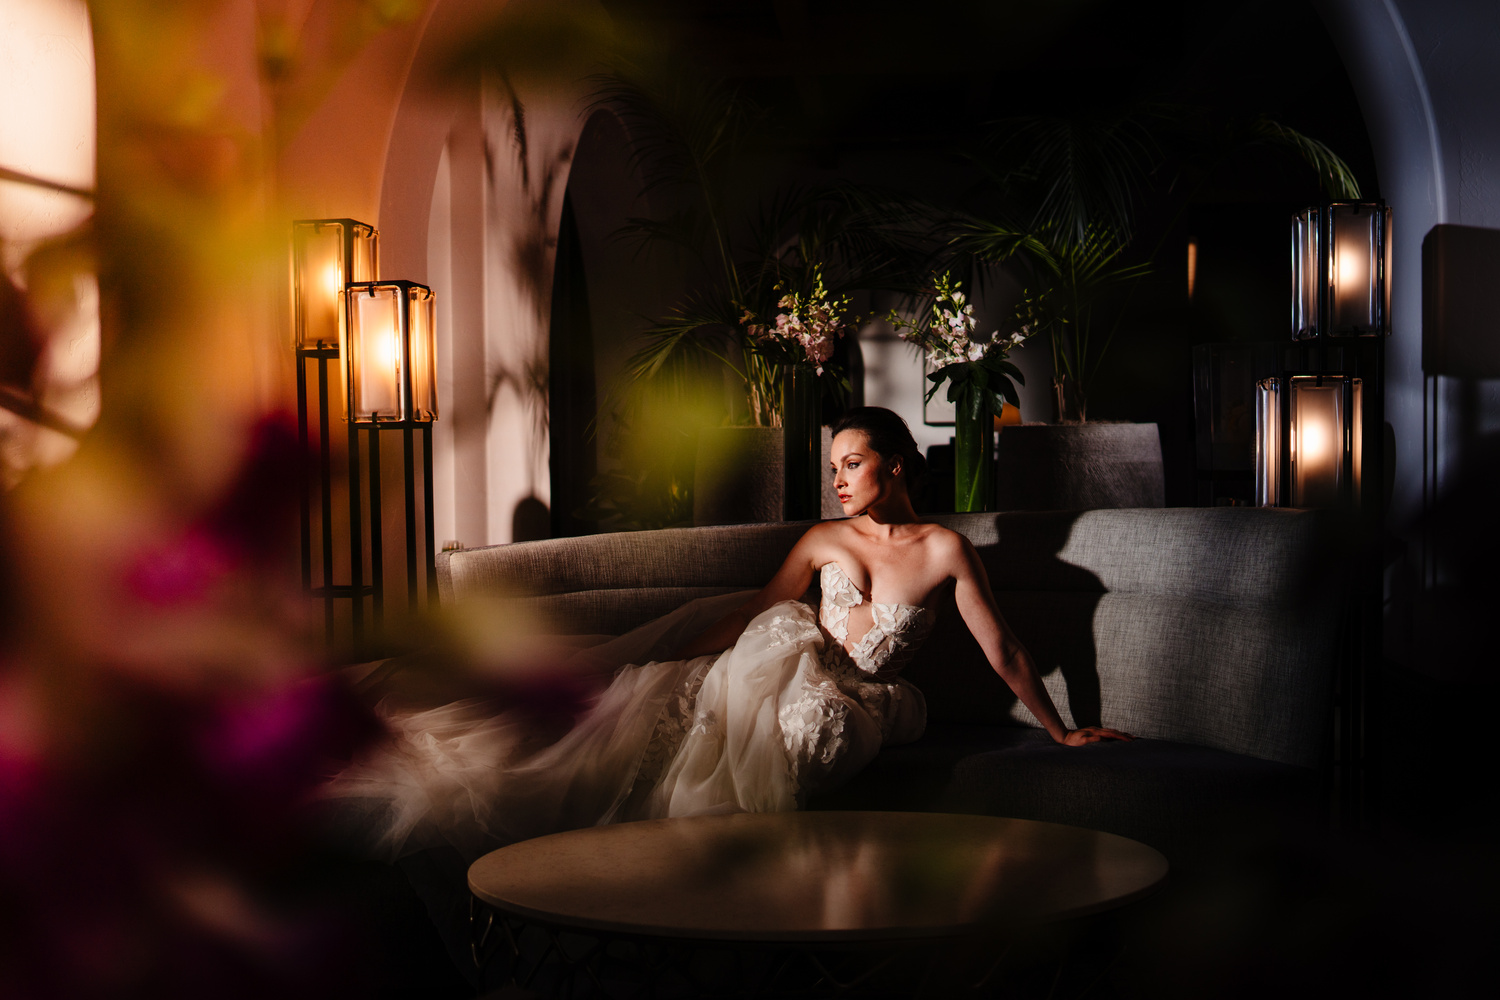
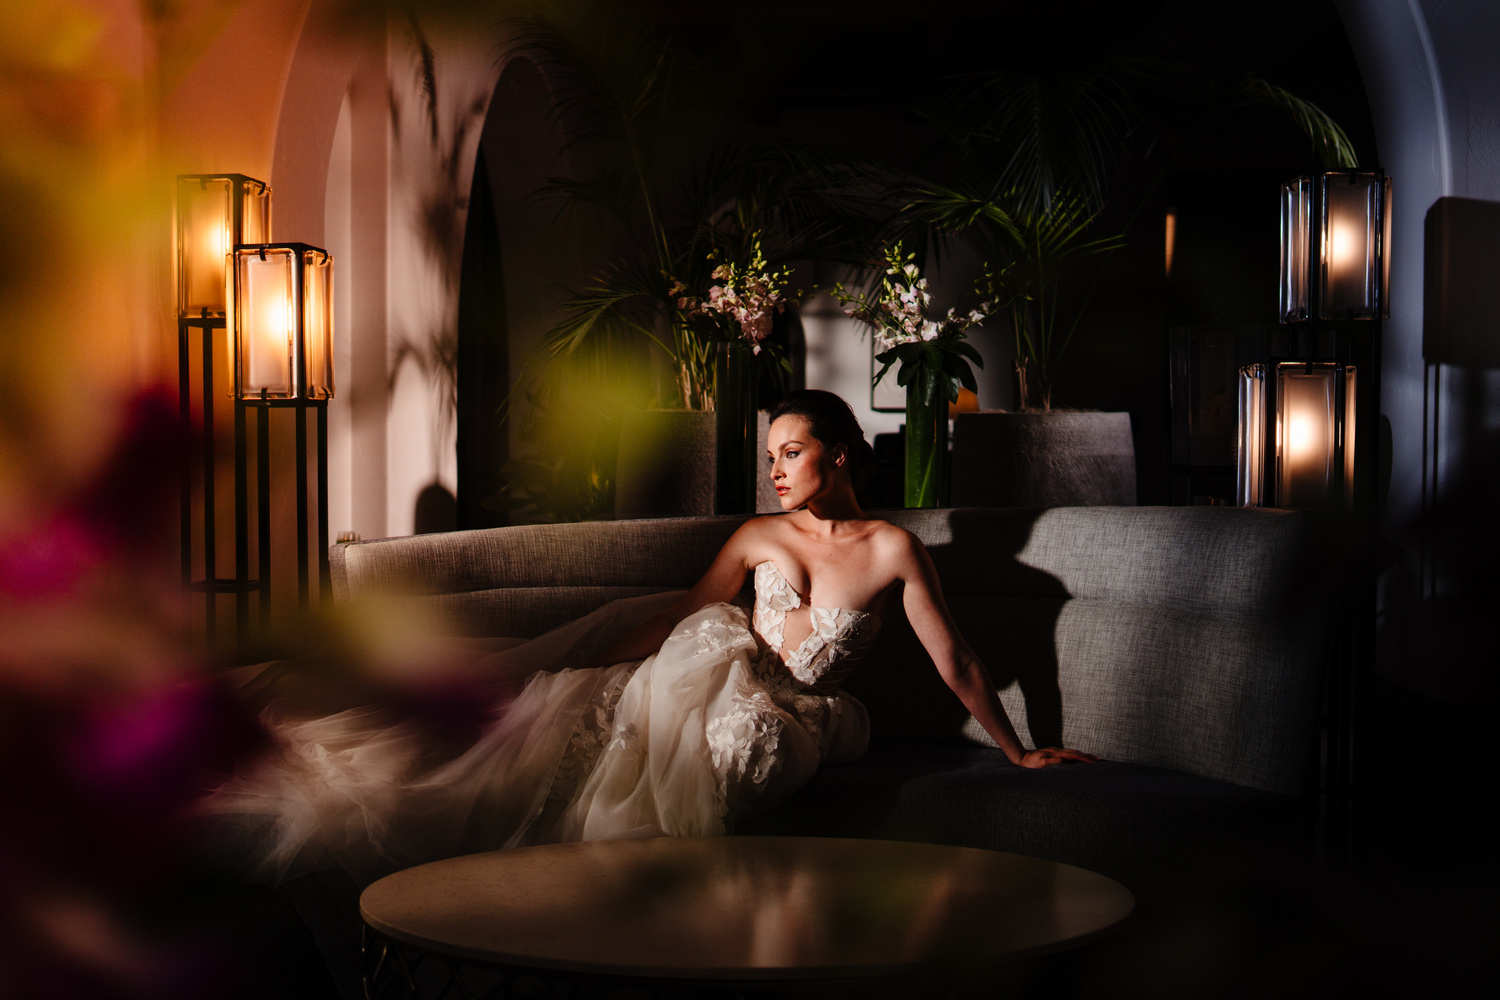
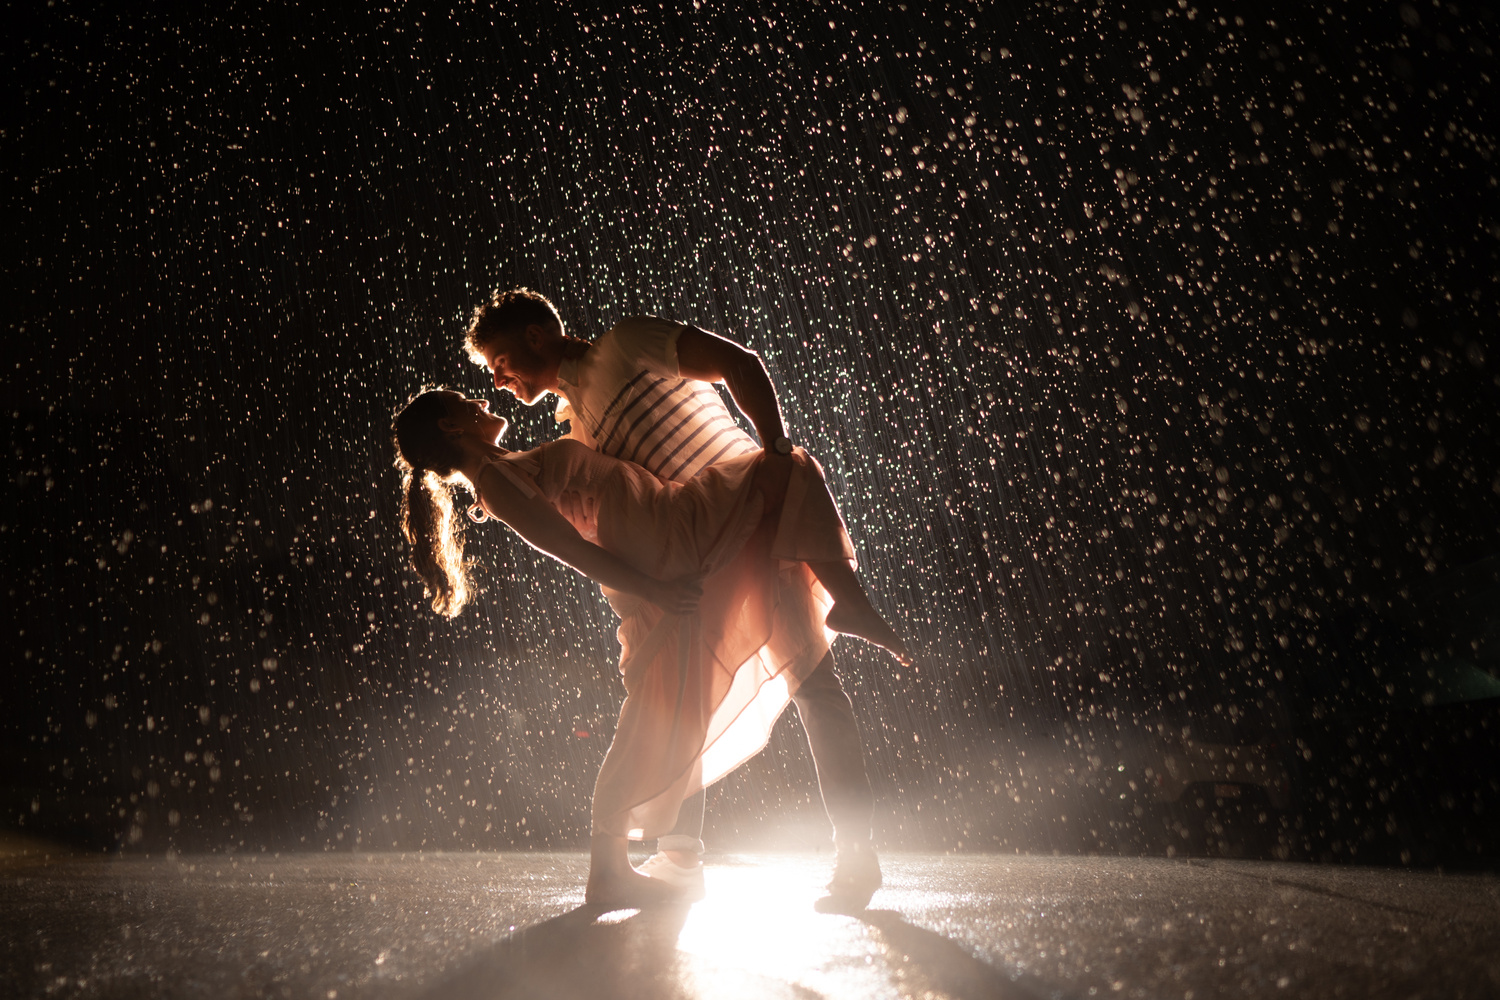
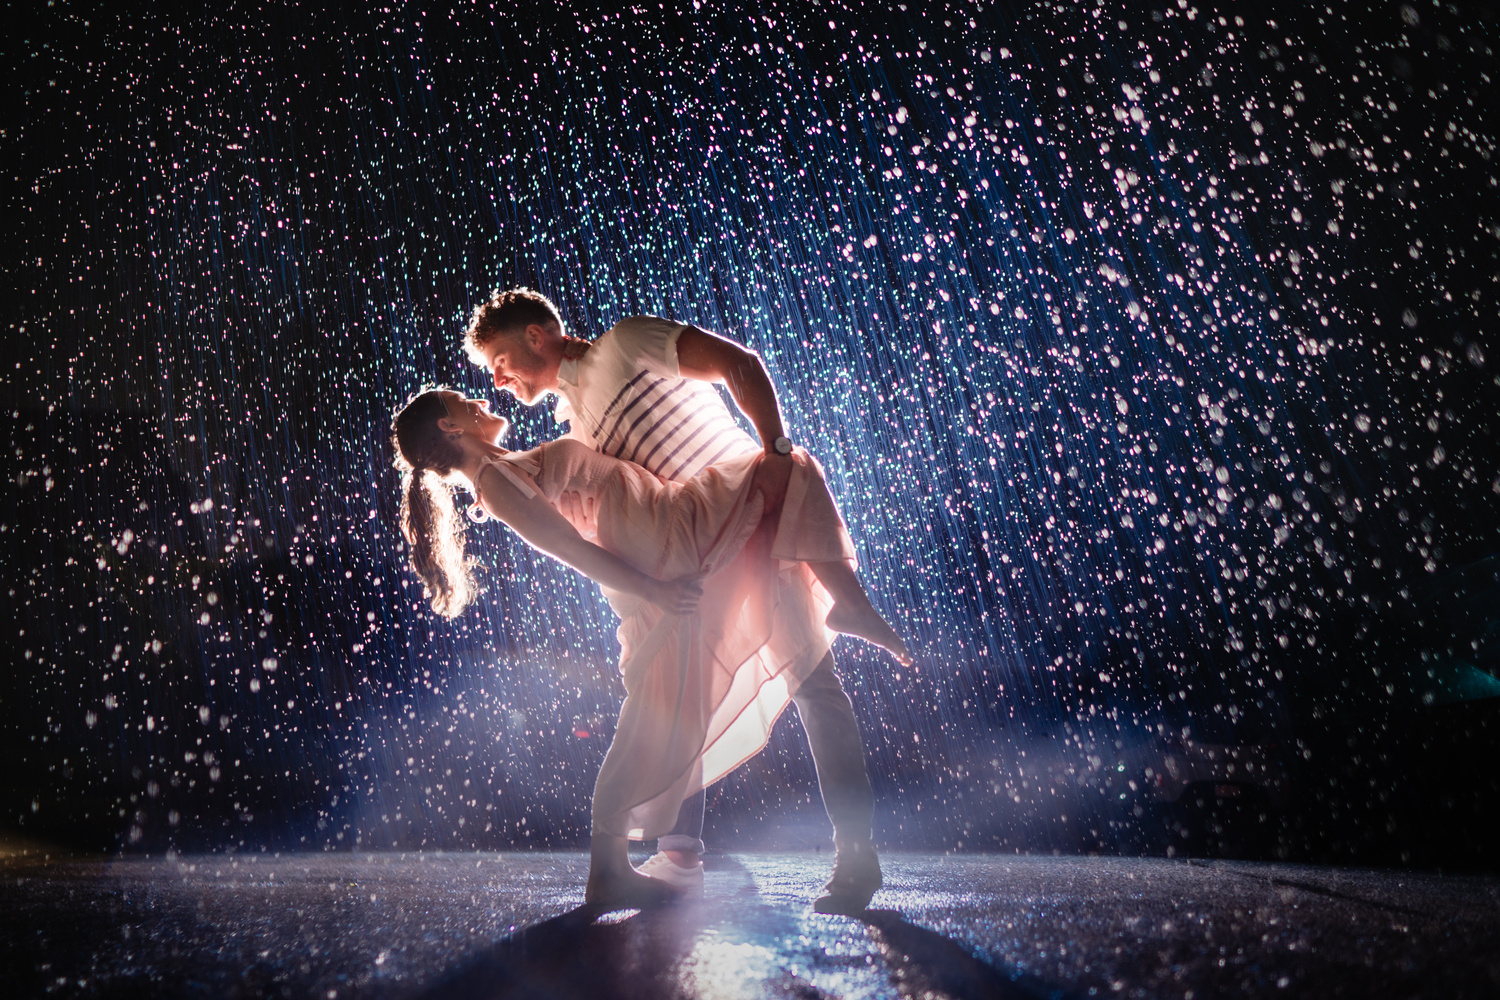
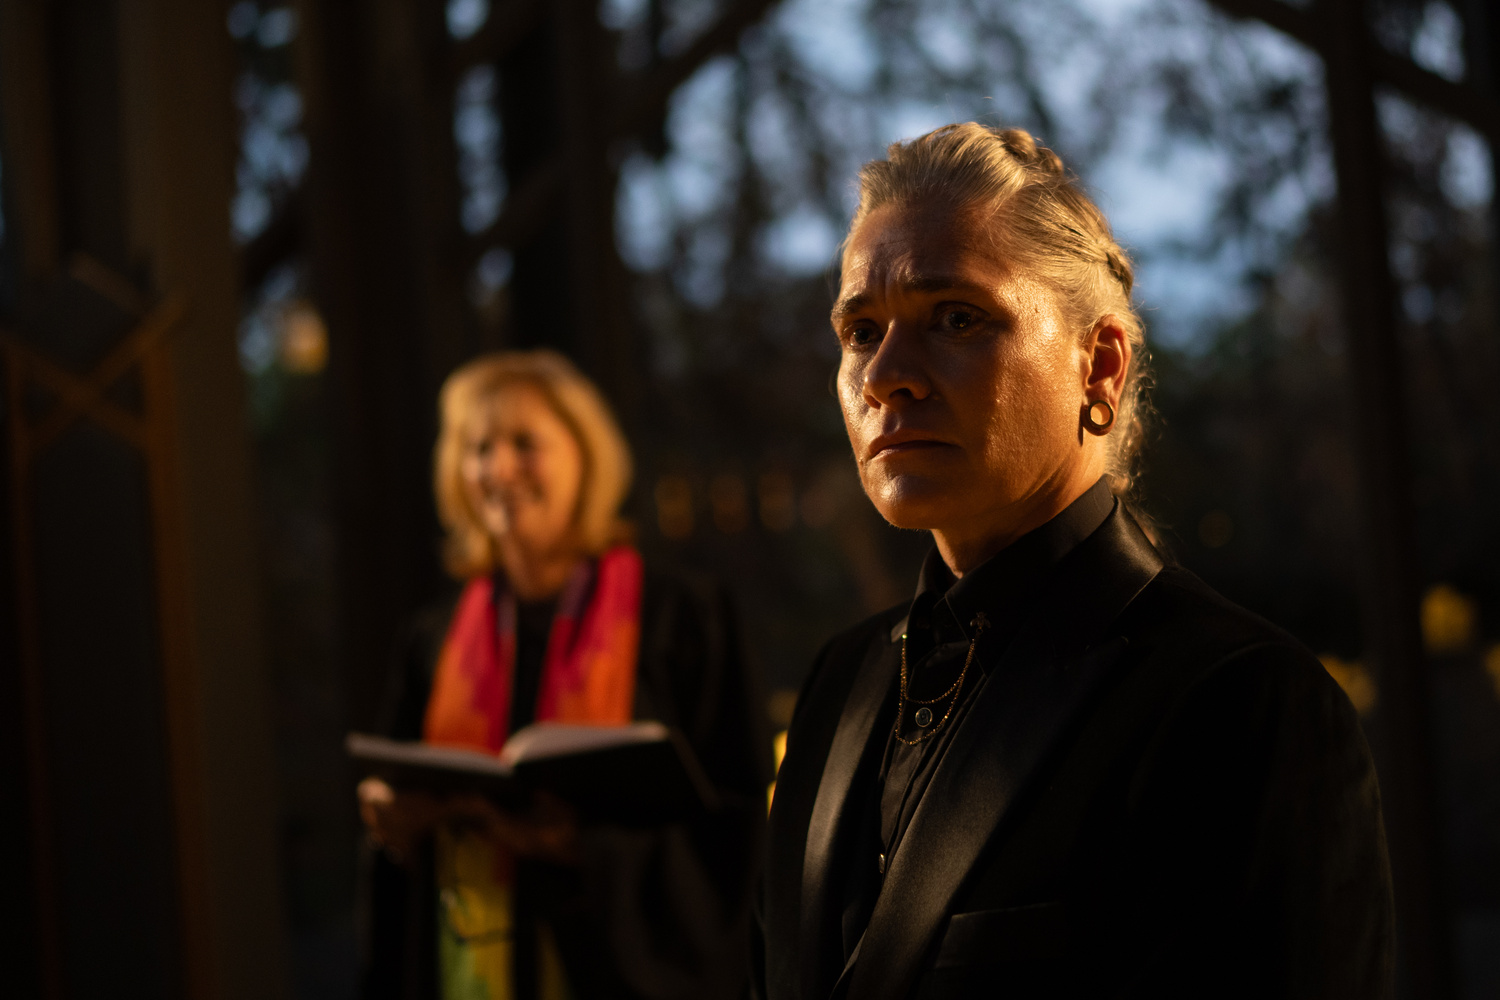
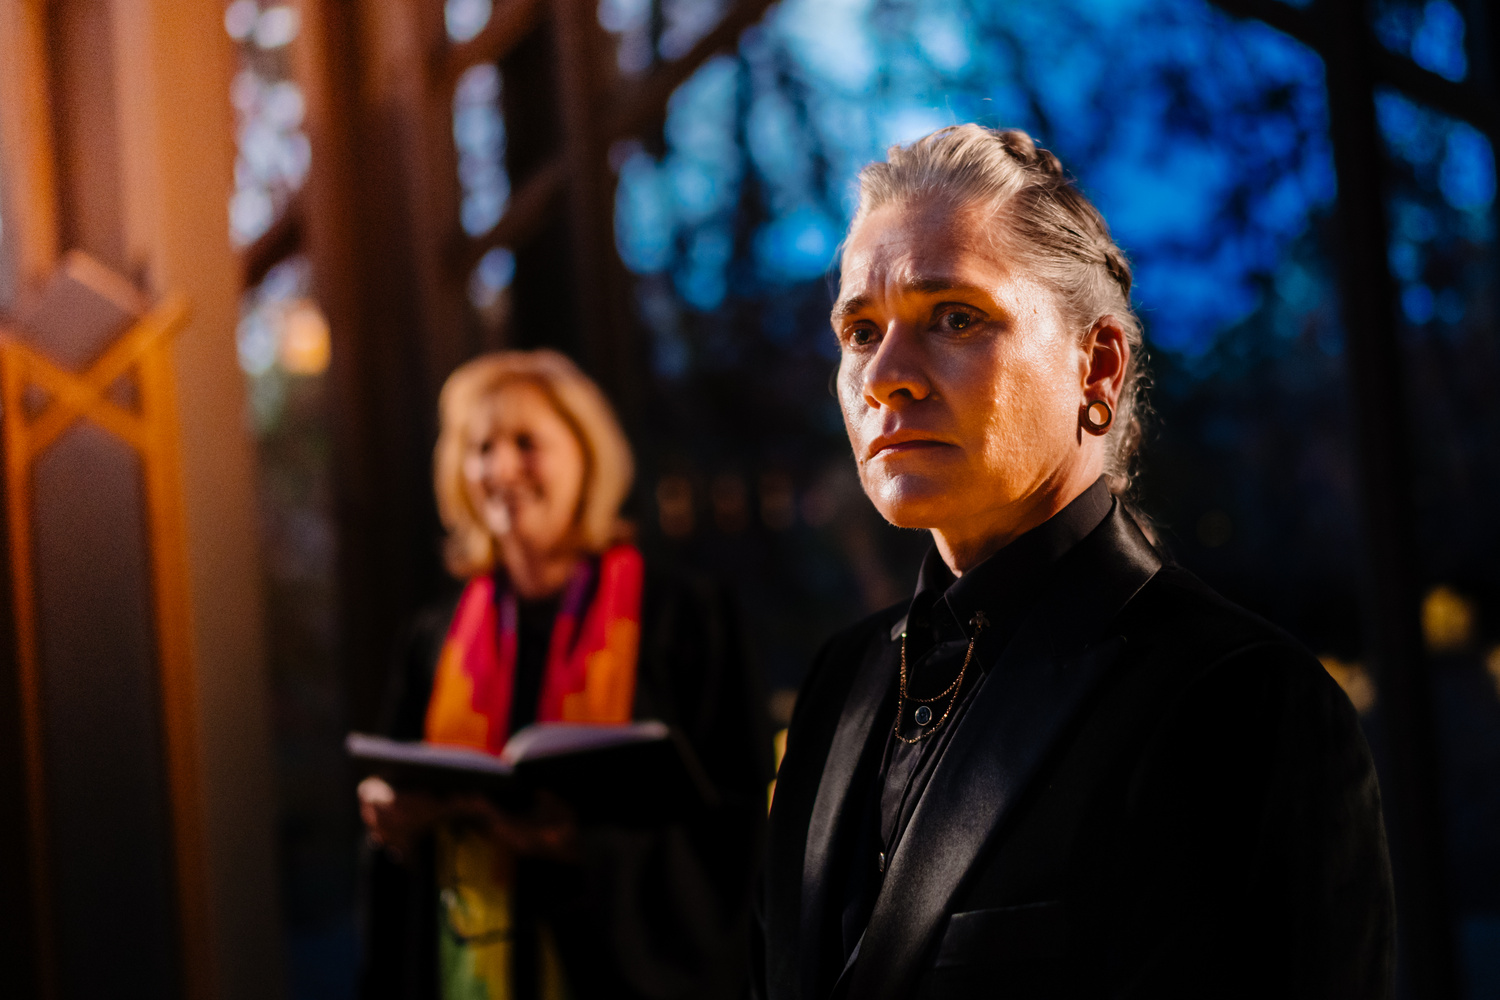
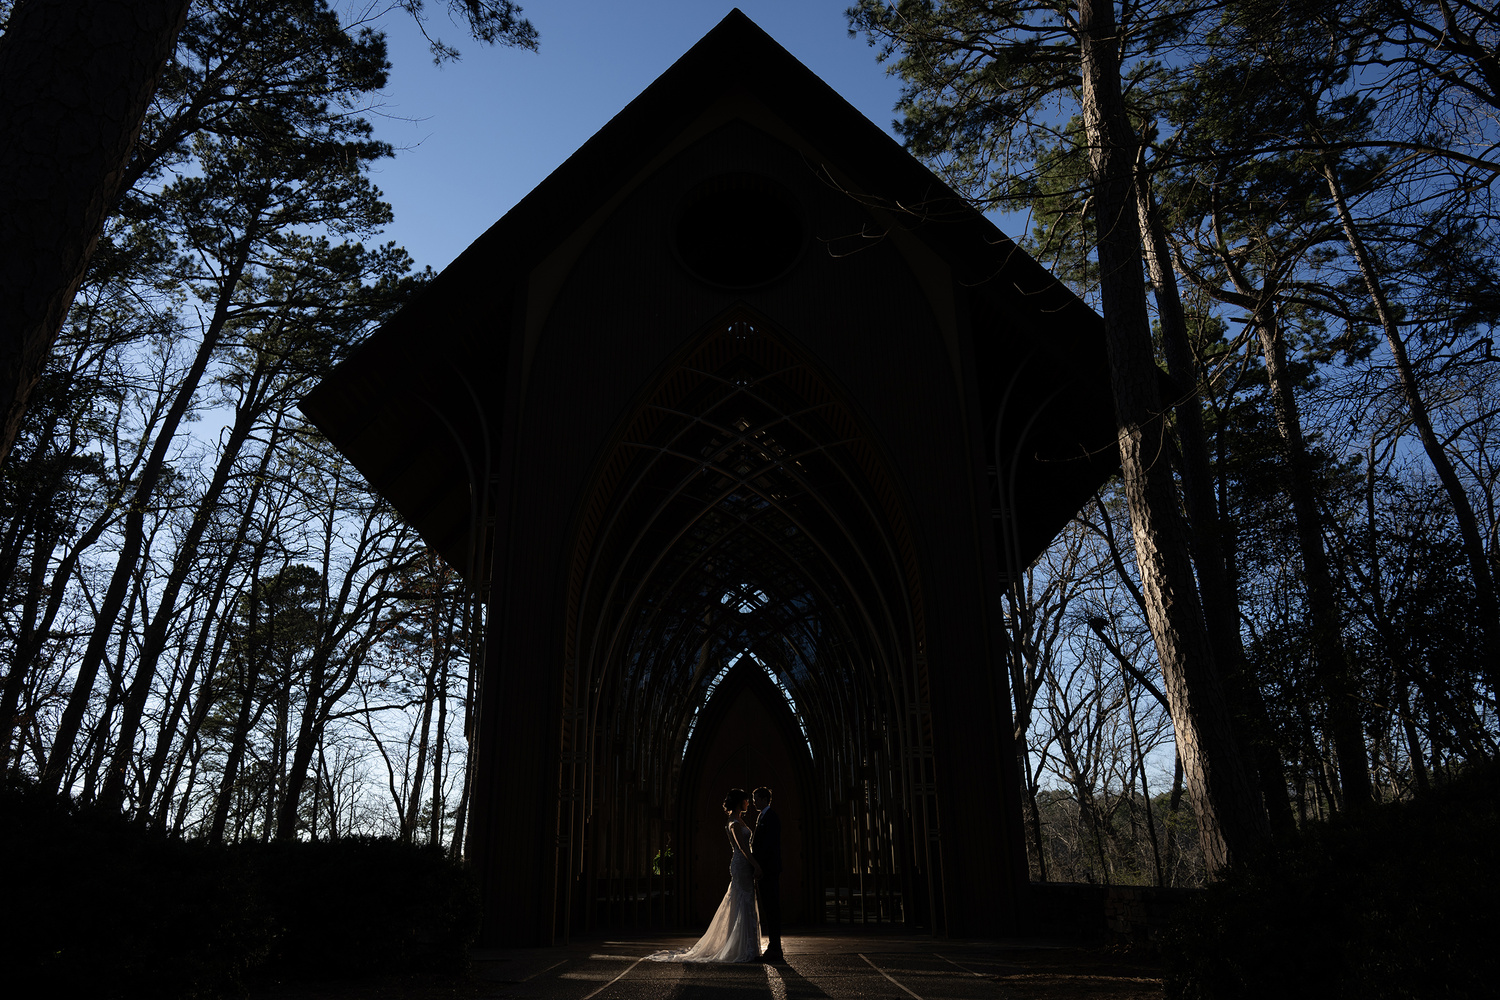
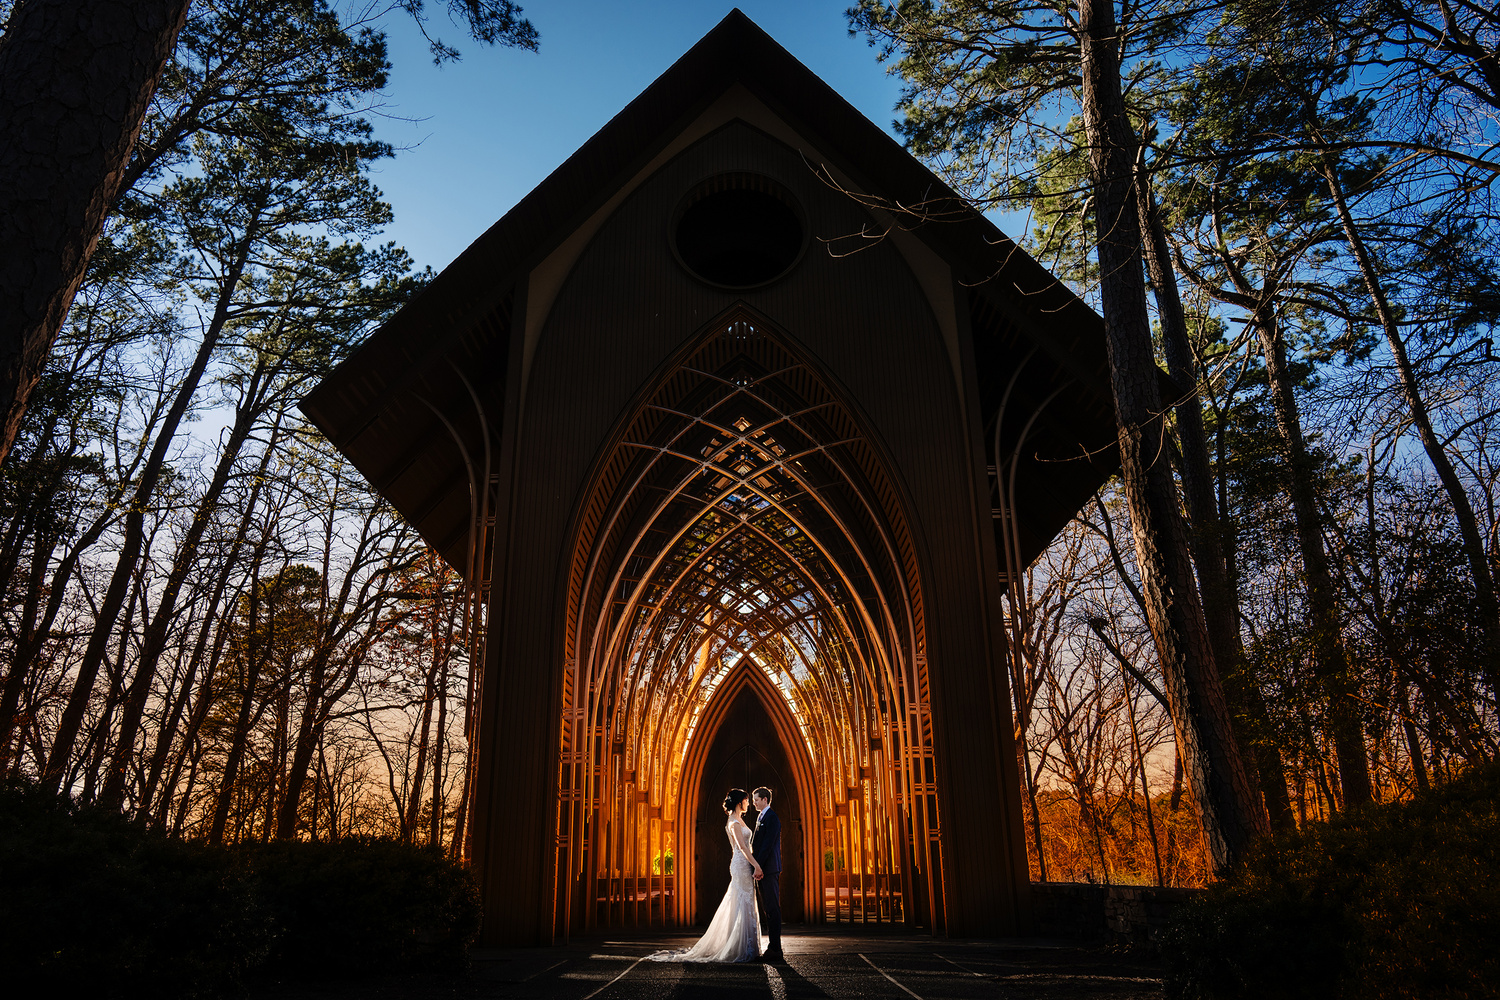
In the video attached, I show a handful of my favorite images and walk through every step I took to get from the raw file to the delivered image. Rather than transcribe the video into written form, I thought I’d outline some key points that make for a great edit.
Highlights and Contrast
When a viewer first looks at an image, they are naturally drawn to the brightest area of the frame or the area with the most contrast. We can take this into account when capturing the image as well as during editing. This is much easier with newer cameras that have electronic viewfinders, as you see the actual image before capturing it (for natural light situations, at least), allowing you to make on-the-fly decisions to maximize the impact of certain lighting conditions. When the image is taken into post-production, we can use editing tools to amplify or minimize certain elements and take things even further.
For example, perhaps your subject is the brightest element in the frame. However, if you take things further, the brightest element on your subject might be the dress they are wearing. This could work well for an ad campaign but not so much for a portrait, where you want the person to be the star of the show. In this case, we can use tools to lower the brightness of the dress and raise the brightness of the subject’s face, drawing the viewer’s attention where we want it.
It’s also worth noting that your subject doesn’t always have to be the brightest element in the frame. Another option is to position your subject in the brightest area of the frame. Since the viewer’s eye is attracted to bright areas, they are more likely to focus on the subject before exploring the rest of the frame.
Watch Your Edges
Speaking of exploring the rest of the frame, the edges of your images can be just as important to the viewer’s experience as ensuring the subject draws their attention. While you want the subject to be the star of the show, the rest of the image still matters. We want the viewer to see and experience the image as a whole. For this reason, I try to ensure clean edges on my images—or at least avoid elements on the edges that leave the viewer wondering what’s being left out.
This practice is important both while taking the image and during editing when cropping or straightening. I aim for the viewer to see the subject, wander around the image, and then return to the subject (this is why composition is so important, though that’s an entirely different topic). I view anything along the edges as potential “roads” leading the viewer off the frame. If something along the edge is distracting, I either crop it out or find a way to minimize its impact.
Local Adjustments Are Your Friend
Far too often, I see people spending all their time making global adjustments to fine-tune an image. However, local adjustments give you far more control over the final impact of your edit. I like to think of global adjustments as setting the overall feeling of the image, while local adjustments guide the viewer to the subject or achieve a specific creative intent.
Because of this, global adjustments should generally be easy to copy and paste across an entire set, with minor tweaks for white balance and exposure (these days, I let AI editing handle most of this work). From there, I spend double the amount of time on local adjustments.
Photograph for the Edit
Sometimes, you can’t achieve your desired image directly in-camera due to time limitations, gear limitations, or the fact that camera sensors capture less dynamic range than our eyes. This is why it’s essential to understand what you can and cannot do in post-production—specific to your camera.
Just because I might push a file more than four stops up in exposure doesn’t mean you can do the same in a different situation. Understanding how far you can push and pull a file under various ISO and lighting conditions will help you make better decisions when capturing images. Similarly, knowing your skill level with local adjustments and other tools will inform what’s possible before you press the shutter.
Having this mindset while shooting also makes you a better photographer, as you are always keeping the final result in mind.
Edit for the Feeling or the Art
When someone shows me a travel photo, I often hear, “This kind of shows how pretty it was, but the picture doesn’t do it justice.” As professional photographers, our job is to deliver images that not only do justice to the location but also make the viewer see its maximum potential. If the feeling of the location was a deep, warm sunset vibe and the image doesn’t convey that, it’s our job to bring that feeling to life.
Sometimes, this involves choices about subject placement or timing during capture. Other times, it requires post-production skills to enhance the image.
If editing to convey the feeling of a space is one side of the coin, the other is editing for artistic intent. Not all images need to be true to life; as an artist, you are free to push an image as far as you like. For me, I aim to keep most of my edits within my RAW processing software. This generally means I don’t add elements that weren’t in the original scene or combine multiple images into one. However, I will push and pull exposure dramatically and adjust colors, lighting, and saturation for maximum impact.
Conclusion
There is so much that goes into capturing and editing an image. These five tips merely scratch the surface of what’s required to create a masterpiece. And like all rules, there are times when these tips may not apply. For me, however, most of my favorite images adhere to these principles. Hopefully, these tips will make you not only a better editor but also a better photographer.
