Key Takeaways
- Use WavePad’s intuitive interface to record, edit, and manipulate audio files effortlessly.
- Features like cutting, joining, splitting, combining, and altering volume levels are quick and easy to execute.
- WavePad has a comprehensive range of effects and tools to embellish and improve your audio tracks.
Audio editing has always felt like a daunting task, with complex tools and overwhelming features that made it hard to get started. But everything changed when I discovered WavePad Audio Editor. Its intuitive interface and simple tools transformed how I approach editing, making audio editing surprisingly effortless.
Getting Started With WavePad
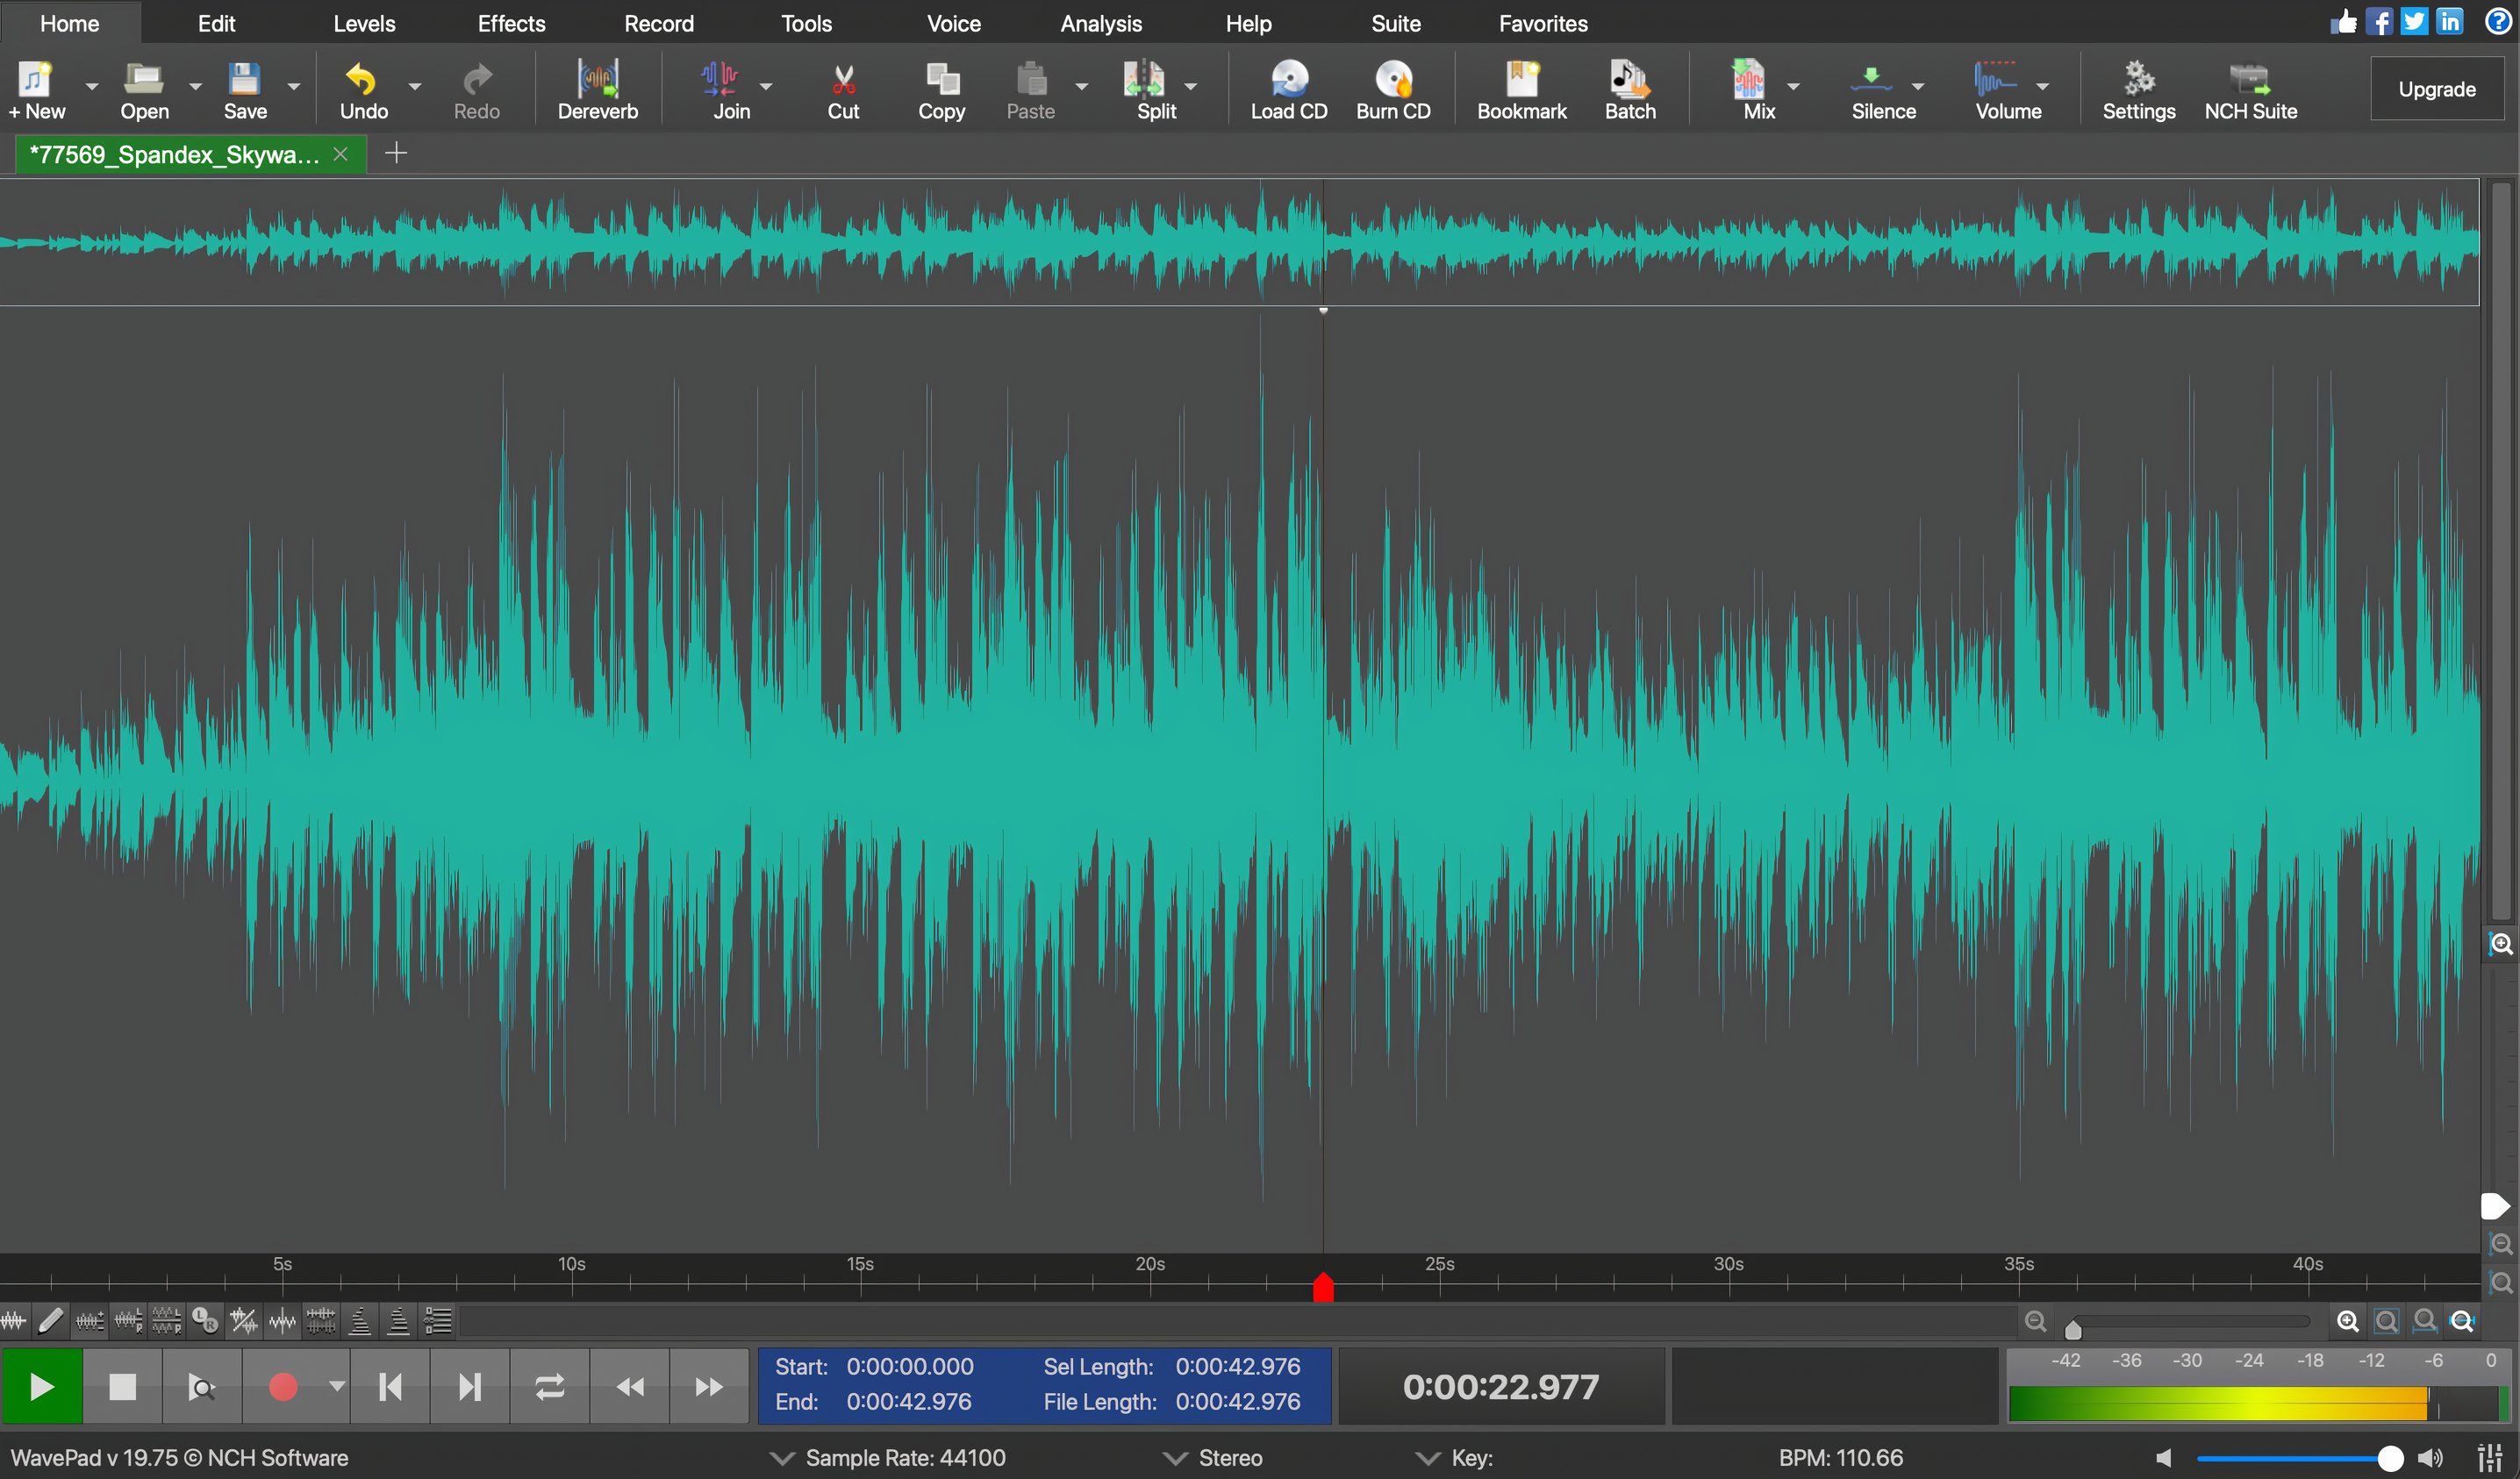
The first step is downloading WavePad from the official website. Follow the on-screen instructions to install the dedicated audio editor on your computer. After installation, open WavePad. The interface is familiar-looking and user-friendly, with a large audio display window, a transport bar, a timeline at the bottom, and a toolbar along the top with all your essential controls.
Click the Settings button under the Home tab in the toolbar to configure various preferences, such as your default input and output device, sample rate, playback settings, and appearance.
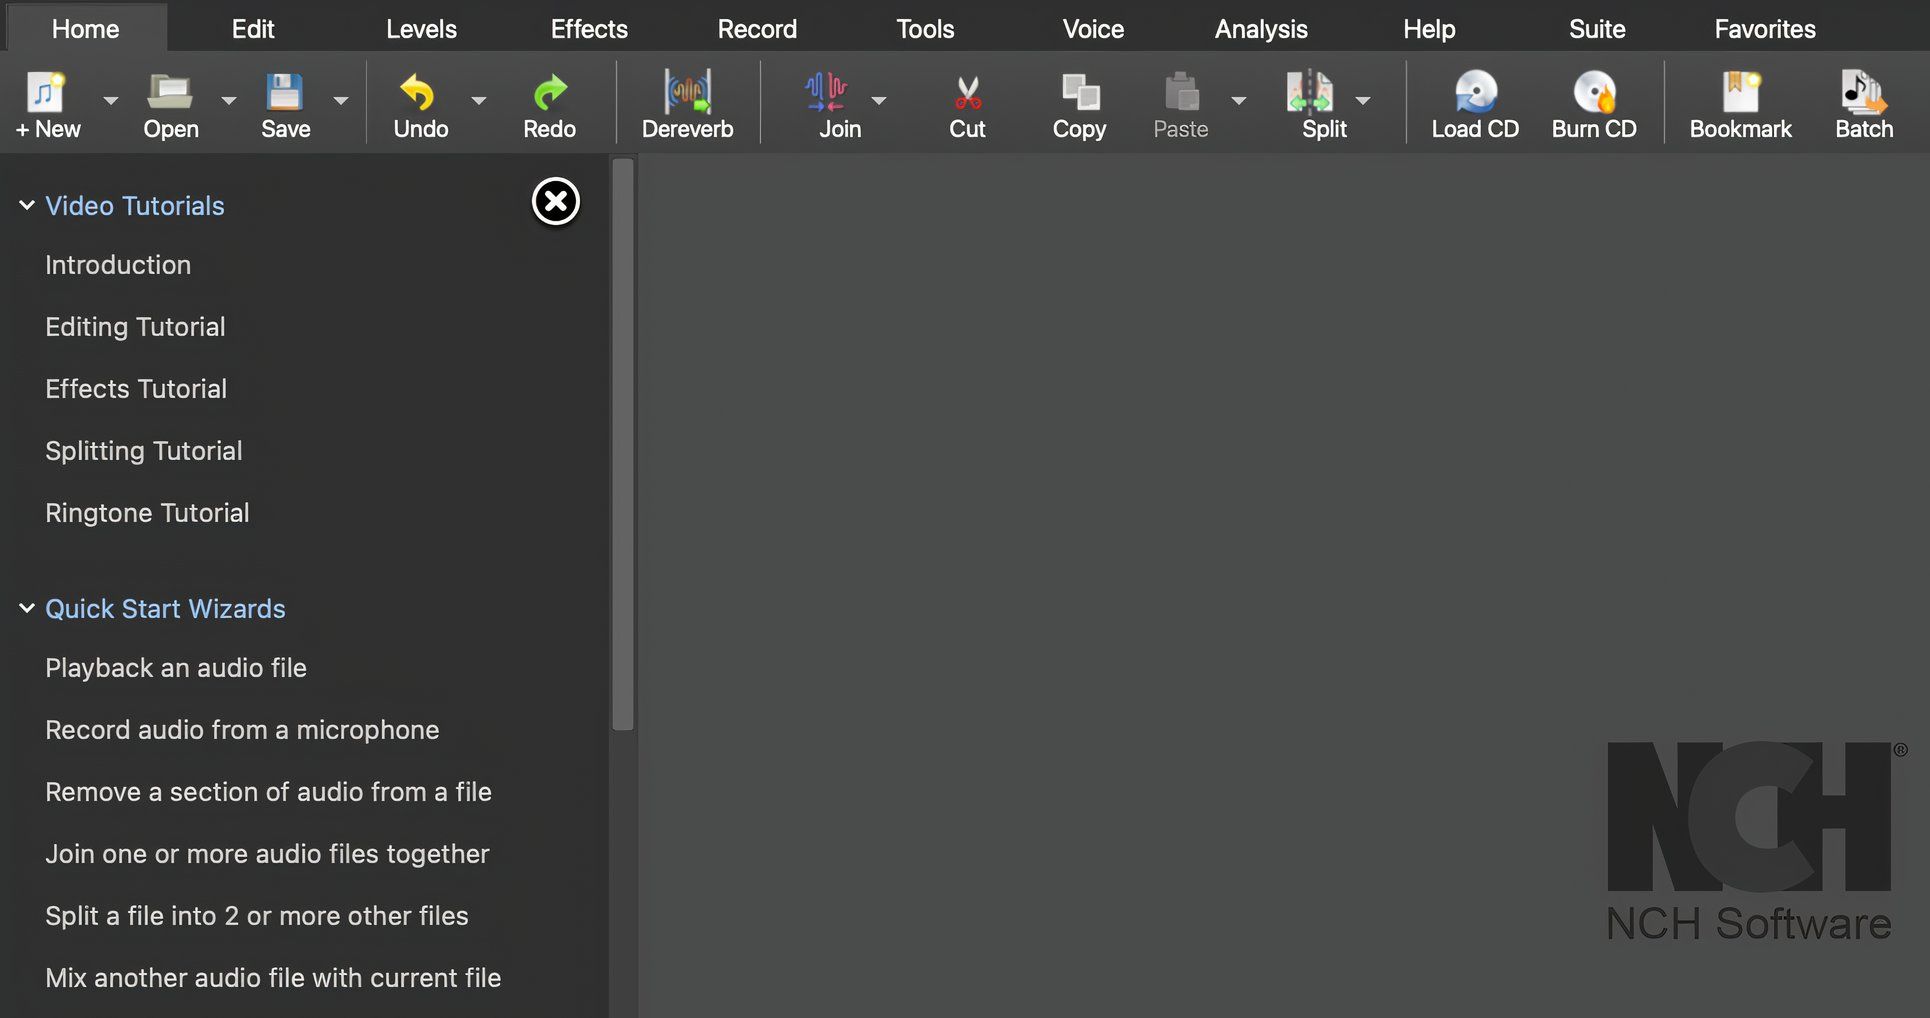
WavePad is straightforward and intuitive once you are familiar with its essential functions. However, should you get stuck, navigate to the top menu and click View > Command Bar > Show Command Bar to bring up a list of video tutorials and quick-start wizards.
Recording Audio Into WavePad
Depending on your requirements, you can edit existing audio files or create your own recordings within WavePad. Both processes are quick and easy to execute.
Before recording, ensure your microphone is properly connected, and your input source is configured correctly in WavePad’s preferences.
Open WavePad and click the + New button in the Home tab to start a new project. Next, click the Record button or press F5 to begin recording. You can monitor the recording in real-time to ensure it doesn’t clip. Use the transport bar to control the recording and playback. When you’re done, click the Stop button and save your work.
Alternatively, drag an existing audio file directly onto the audio window or go to Open > Open File to load it for editing.
Editing Audio in WavePad
Like all good music creation software, WavePad can be as straightforward or as advanced as you need it to be, with intuitive tools to edit your audio. Here are some of its most useful features:
Cutting Sections of Audio
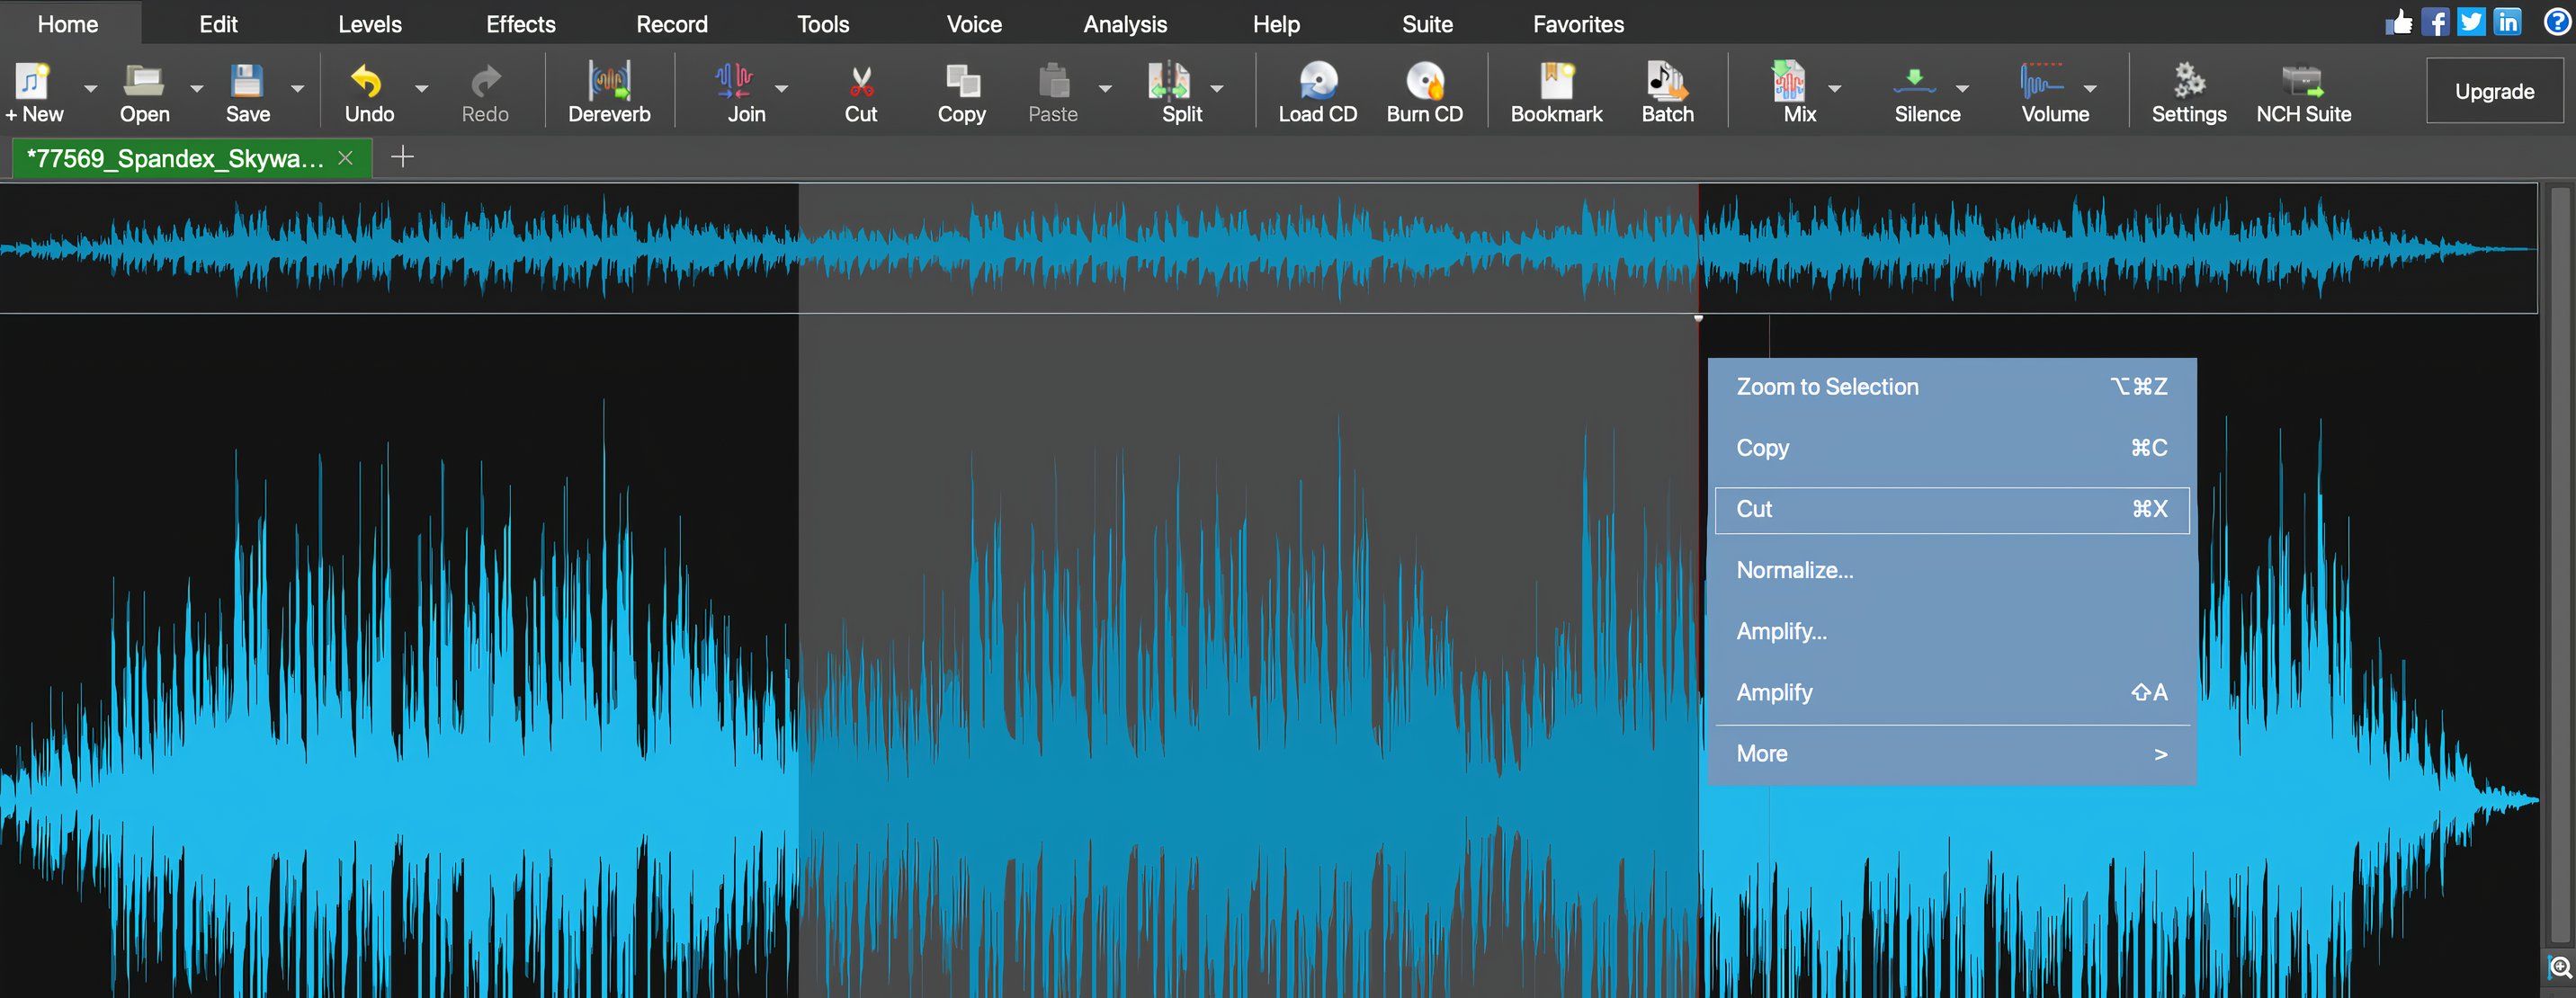
To cut sections of audio, simply click and drag your mouse over the desired portion of the waveform. You can adjust the selection’s start and end points by dragging the edges and use the magnifying glass tool to zoom in for precise editing.
Once selected, click the Cut button in the toolbar or press Ctrl/Command+X to remove the section and place it on your clipboard. If you want to paste the cut section elsewhere, click on the desired location in the audio file and press Paste or Ctrl/Command+V to insert it.
Joining Audio Files Together
When joining audio files together, start by opening all the files you want to combine via File > Open. Drag the second file to the right of the first one on the timeline, ensuring there’s no overlap unless that’s intentional.
Once aligned, select Edit > Select All, then choose Edit > Join (or right-click the timeline and select Join) to merge the files into a single audio track.
Splitting Audio Files
To split an audio file, navigate to the exact point where you want the split to occur. Zoom in and drag the cursor for added accuracy. Once positioned, click the Split button under the Edit tab or press Ctrl/Command+T, and choose Split at Cursor. This action will divide the audio file into two separate sections, which you can then move, delete, or edit independently.
Combining Audio Files
Finally, to combine audio files, load the primary audio file via File > Open. Under the Edit tab, select Mix with File and choose Mix File Direct. From your library, select the secondary file you want to merge and click Open. You can adjust the volume of the merged file until you’re satisfied with the mix, then finish the process by clicking Paste Mix.
Adding Effects to Audio Tracks
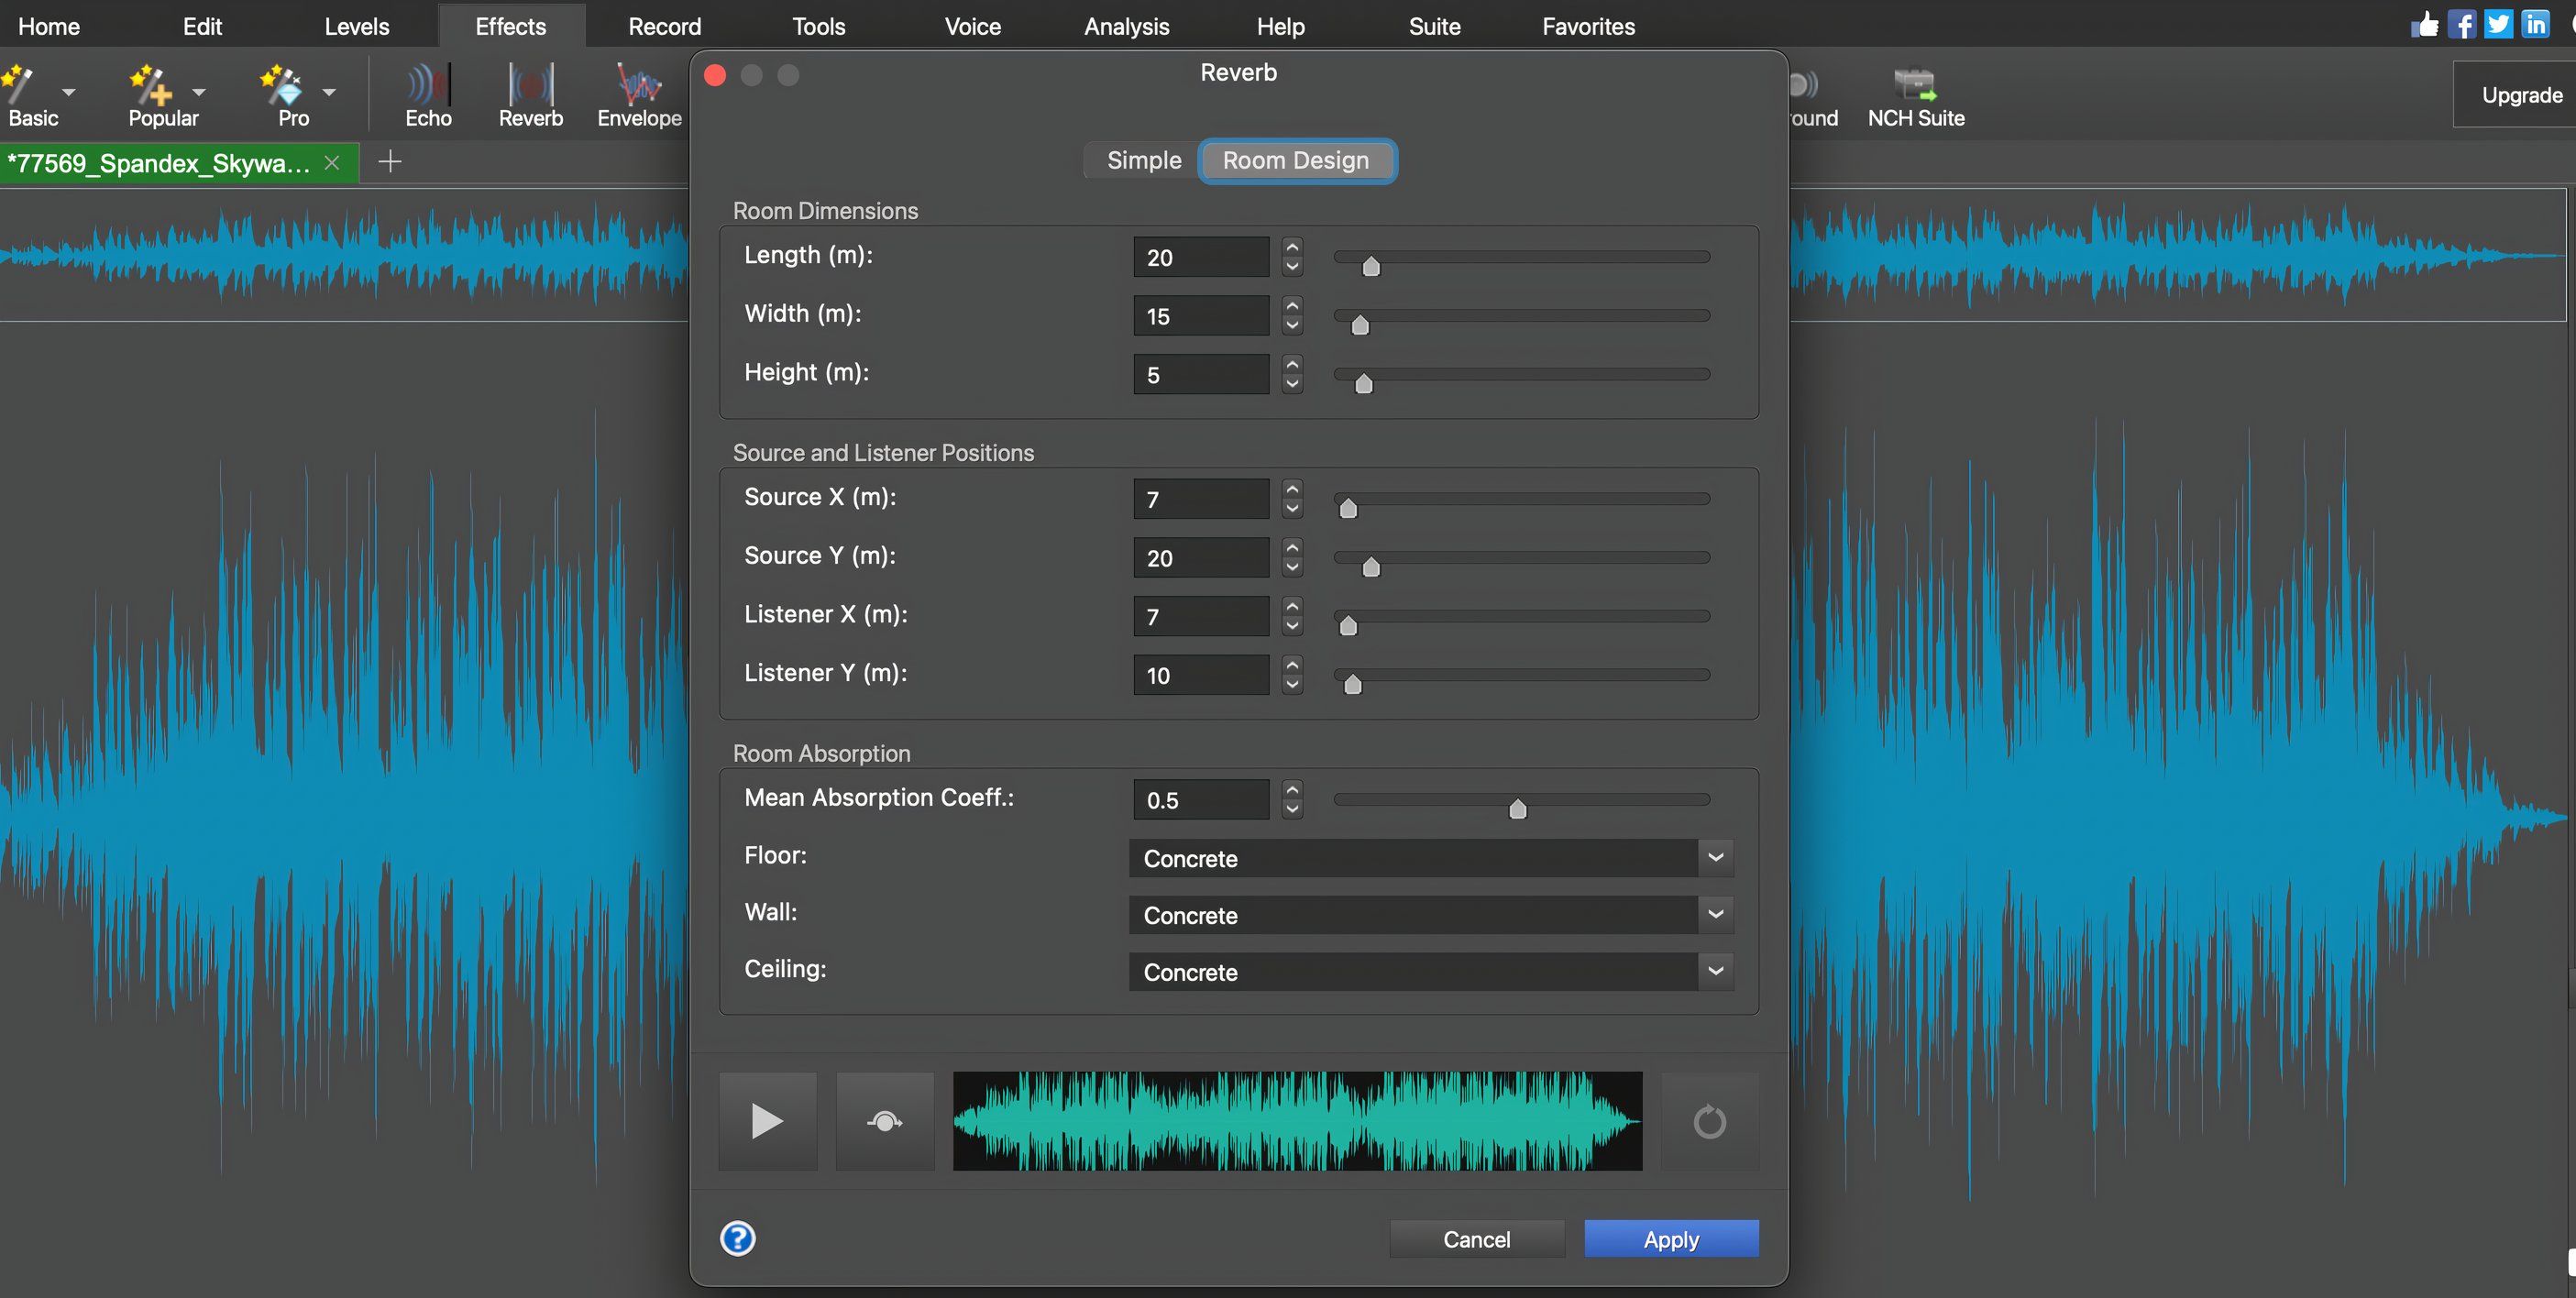
Whether editing dialog for a video or cleaning up an instrument track, WavePad offers several high-quality effects and tools that can seriously enhance and improve your audio. I generally use effects sparingly. However, tools like click-and-pop removal, de-esser, high/low pass filter, compressor, and equalizer are indispensable when mastering tracks.
- Highlight the part of the audio file that you want to modify. If you want to apply effects to the entire file, press Ctrl/command+A to select all.
- Click on the Effects menu in the toolbar. You’ll find a range of effects like reverb, echo, equalizer, pitch shift, noise reduction, etc.
- After choosing an effect, a dialog box will open where you can adjust the intensity or parameters of the effect. Preview the changes before applying.
- Click OK to apply the effect. The waveform will change according to the effect’s adjustments.
Manipulating Volume Levels in WavePad
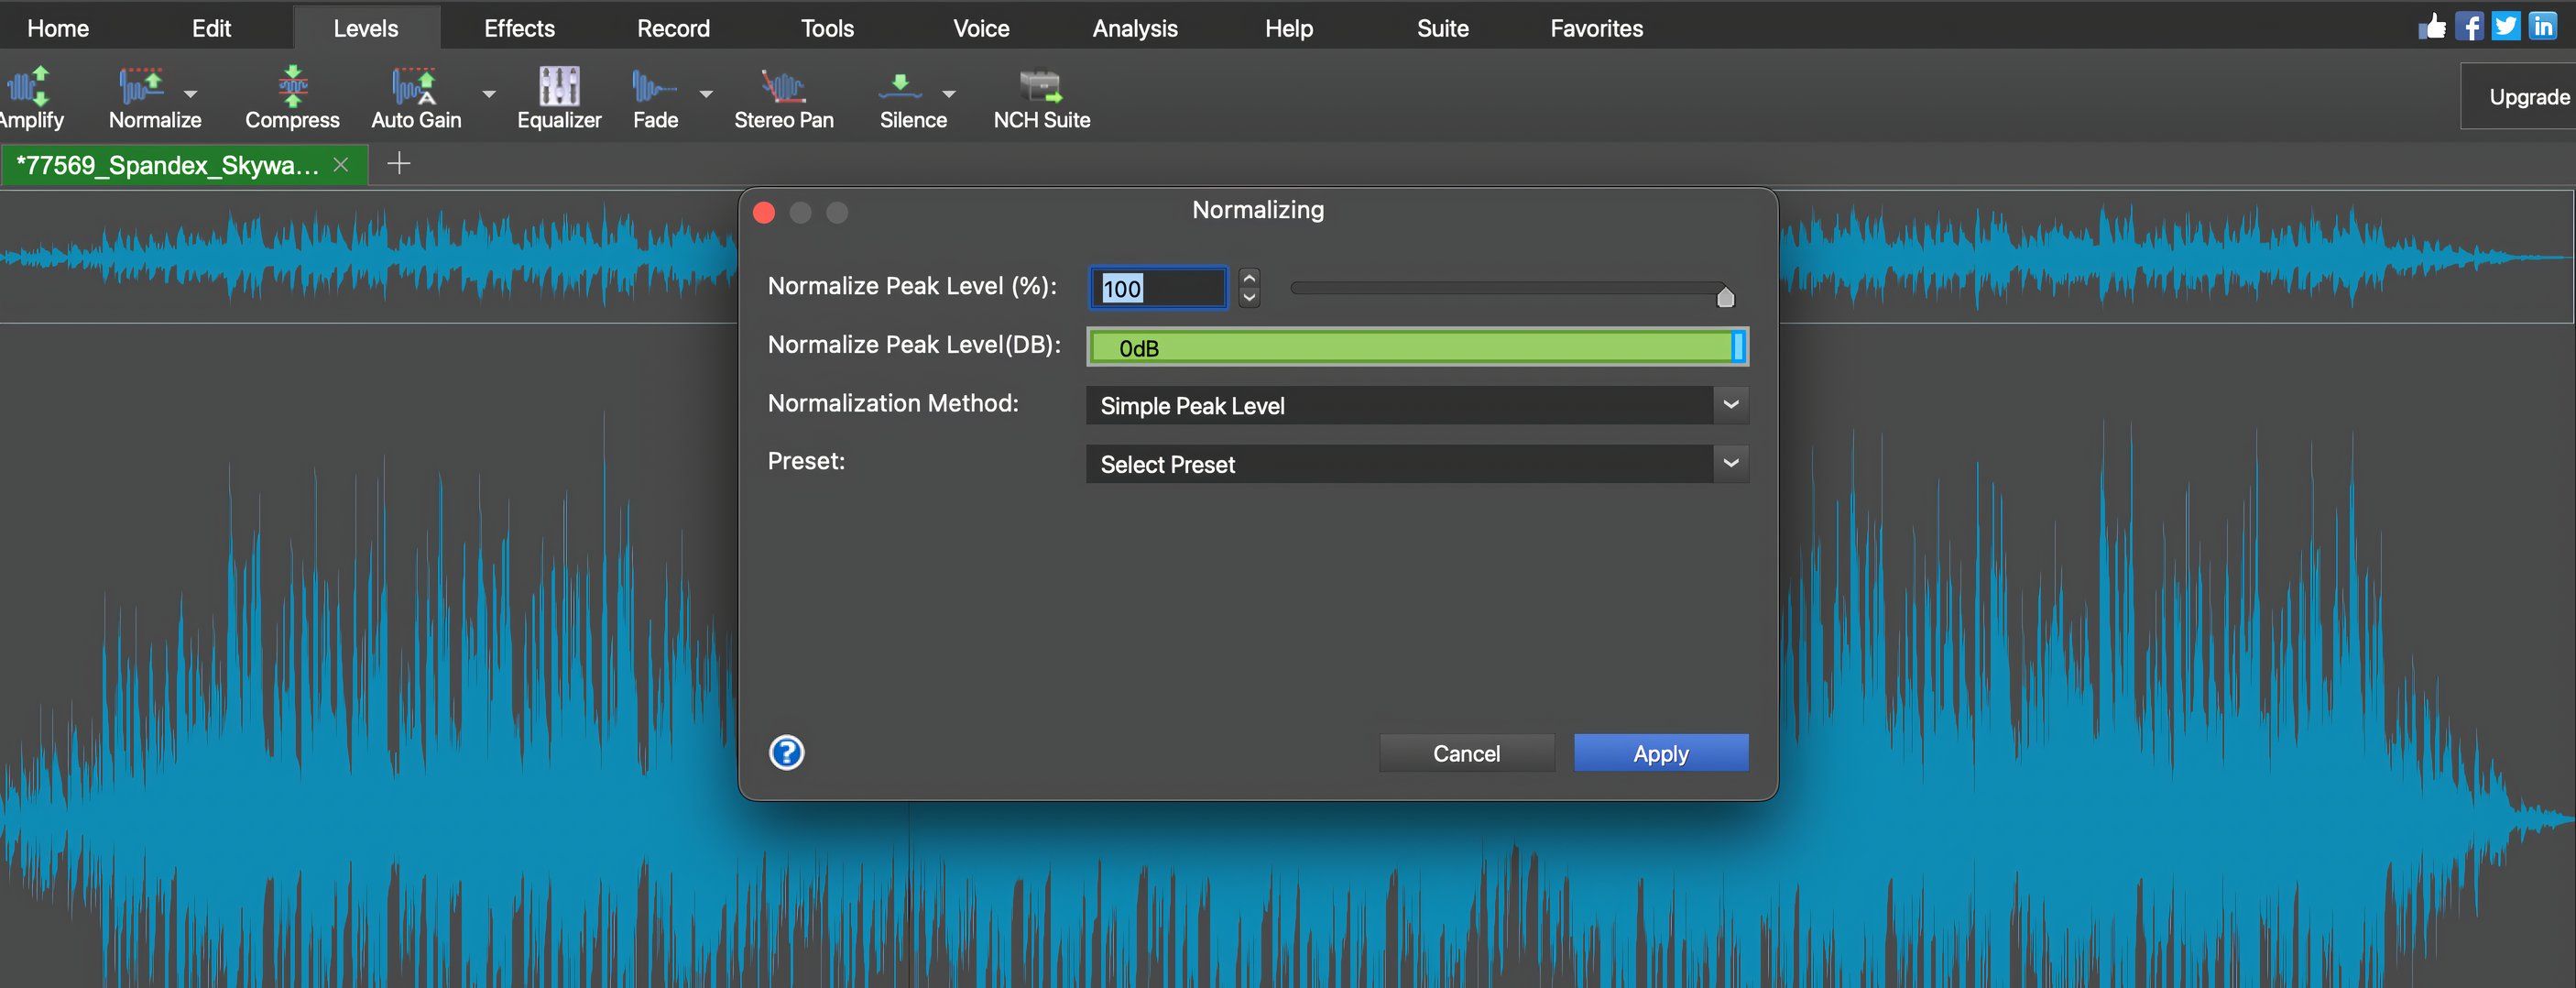
Balancing the volume is one of the fundamental functions of audio editing, and WavePad provides tools to adjust the overall volume and specific sections of your audio file. For example, the Normalize feature is especially useful when adding dialog to a video.
To adjust the volume for the entire track, navigate to Levels > Amplify in the toolbar. This will open a window with a slider, allowing you to increase or decrease the gain. You can preview your changes before applying them, making it simple to fine-tune the sound.
If you only need to adjust the volume of a specific section, use your mouse to select the desired portion of the audio. Once selected, a popup window will appear. Choose Amplify and move the slider to set the volume for that section.
For consistent volume throughout your audio, use the Normalize tool by going to Levels > Normalize. This feature automatically adjusts levels to create a balanced sound.
For smoother transitions, you can apply a fade effect to selected sections. Highlight the part of the audio you want to modify, then go to Levels > Fade and choose either Fade In or Fade Out to gradually increase or decrease the volume.
Whether you use WavePad as a standalone audio editor or in tandem with your favorite digital audio workstation, it is a high-quality, intuitive program that will help you get the job done quickly and easily. If you are a video editor, vlogger, music producer, or all-around audio aficionado, it’s well worth downloading WavePad for free to get the best out of your recorded work.
